An iPod Classic for 2023
Firstly, a disclaimer: this is not an instruction manual. This is the first device I've modded (other than a couple of self-built PCs, which doesn't really count), and it wouldn't have even crossed my mind to attempt it without a multitude of blog posts and YouTube videos by people much smarter than me.
All the resources I drew on are linked below:
- Building an iPod for 2022
- Upgrading a 2006 iPod Video for Lossless Audio
- Classic iPod Hackers Say There’s No Better Way to Listen to Music
- iFlash-Compatibility
- Spotify Streaming on a modded 17-year-old iPod Classic (via Raspberry Pi)
- iPod Classic new Battery & 256GB SD Card: still works in 2022! (GREAT resource)
- In the description for that video: iPod Classic opening reference card
- iPod 6th Generation - iFixit (absolutely vital)
- iPod Classic 2020 All In One Restoration Guide - SD Card, Battery Upgrade & More!
- The 2000GB iPod Classic.
And here is everything I bought for the project:
- Front panel, silver, £8.95
- Headphone jack and hold switch, white, £14.95
- iFlash Solo SD card adapter, £36.74 — if you're in the UK, I’d buy it direct from iFlash instead (I hadn't realised before ordering that they have a UK store)
- 512GB Samsung EVO Plus MicroSD card, £27.79
- 2000mAh battery, £17.49 — cable is the wrong length, but it seems to work well enough
- Mini bluetooth dongle for iPod, £11.49 — took ages to arrive
- iSesamo tools x2, £15.90
- Plastic spudgers x10, £2.89
- Mini screwdriver set, £3.89
- Magnetic project mat, £4.09
- Compressed air, £3.49
- Basic device tools, £1
All-in, I spent £148.67, which includes some tools I will be able to reuse. Tidal currently costs me £131.88 per year, so this only needs to last just over a year to have paid for itself.
Motivation
More and more lately I've been feeling an urge to separate myself from my phone, and more specifically to return to a time before the smartphone took over as the ultimate multi-tool. Every day I feel older and more crotchety about the direction of innovation in tech — less choice, less flexibility, less openness. Websites don't have RSS feeds anymore, Instagram won't let you download images, and music is served to you based on whichever record company pays the most.
I wanted a device that only existed to play music. I wanted an algorithm-free listening experience, album-forward and augmented with my own handmade playlists. I wanted to listen through my ancient (and still fully functional!) over-ear headphones without needing to attach a fucking dongle. I also wanted to see if I could repair something myself — I firmly believe in permacomputing, but this was my first time exploring the practicalities of regeneration over replacement.
I used iPods consistently through high school, inspired in the first place by a 2nd Gen owned by a family friend that I had been lent once to play snake and listen to audiobooks. The one I’ve been modding is a ‘7th Generation’ iPod Classic, the second of the range to officially carry the ‘Classic’ title and the last generation Apple ever produced. It doesn't have the preferred Wolfson DAC that the 5th Gen had, but it held its own against the 5th Gen when tested and — more importantly — it's what I had gathering dust in a drawer. This was my third and final iPod, following a blue 3rd Generation Nano and a dark grey Classic[1]. I used it in conjunction first with an iPhone 4 and then with a OnePlus One, neither of which had anywhere near enough space for all of my music. I don’t remember when or why I stopped using it, but I guess it must’ve been around the time I started paying for both Spotify Premium and a SIM with unlimited data — somewhere around 2016.
The repair
Initially I tried to boot up and use the iPod as is, but it was clear that the hard drive was on its way out — at first it connected to my PC but wouldn't let me sync, and then it bricked completely and would only show me the ‘OK to disconnect’ message after I tried to reset it.
Since I was gutting it anyway to replace the hard drive, I decided to get a new front cover, a bigger battery, and a new headphone jack. I would've loved to have gone for all see-through panels, which I think looks incredible, but it seems these panels aren't available for the 6th/7th Gen — and it would've required replacing more parts than is technically necessary. I’m also not interested in installing Rockbox or any other alternative system — it might be better for some, but I love the old Apple interface, and as long as iTunes still works, I’ll keep using that.
My hope is that I'll now never need to open it up again, that I've future-proofed it for at least another decade and hopefully beyond.
Opening the iPod
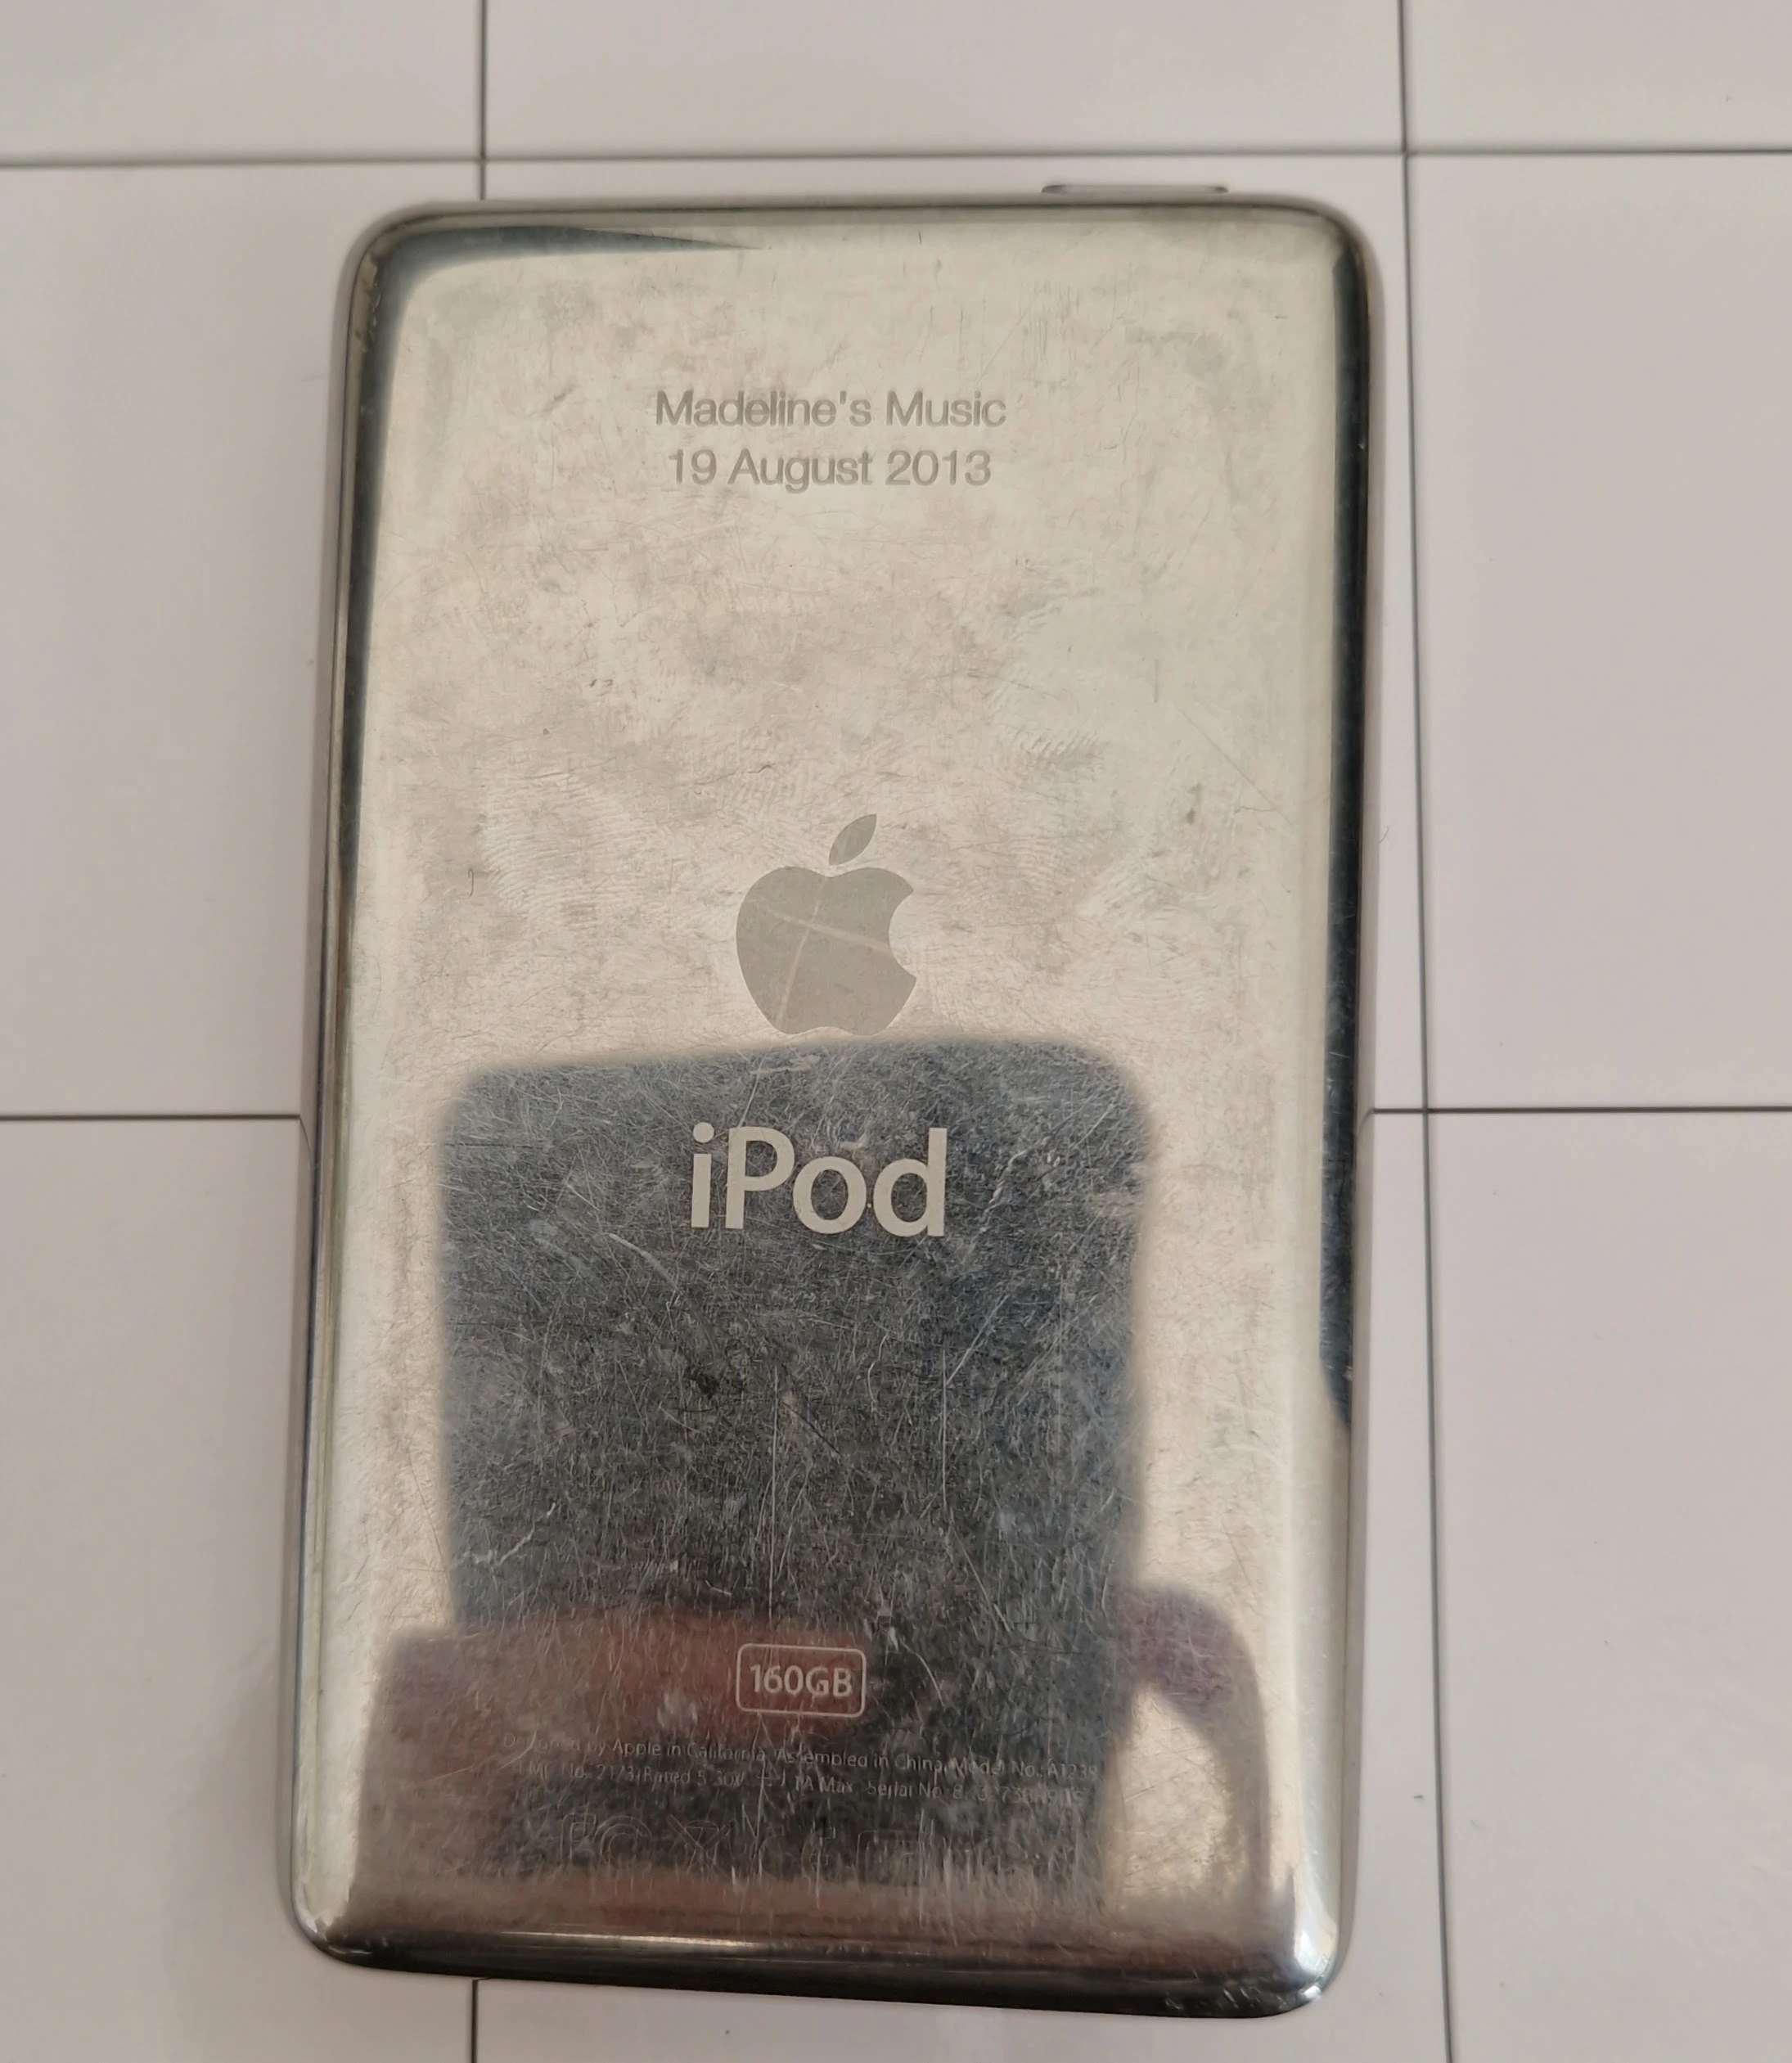
I was the most apprehensive about this step, both because I'd had the fear of God put into me by YouTube videos and the iFixit instructions and because I was committed to keeping the original back panel — there's an inscription on it from my Dad, who gave this iPod to me for my 16th birthday, almost exactly a decade ago.[2]
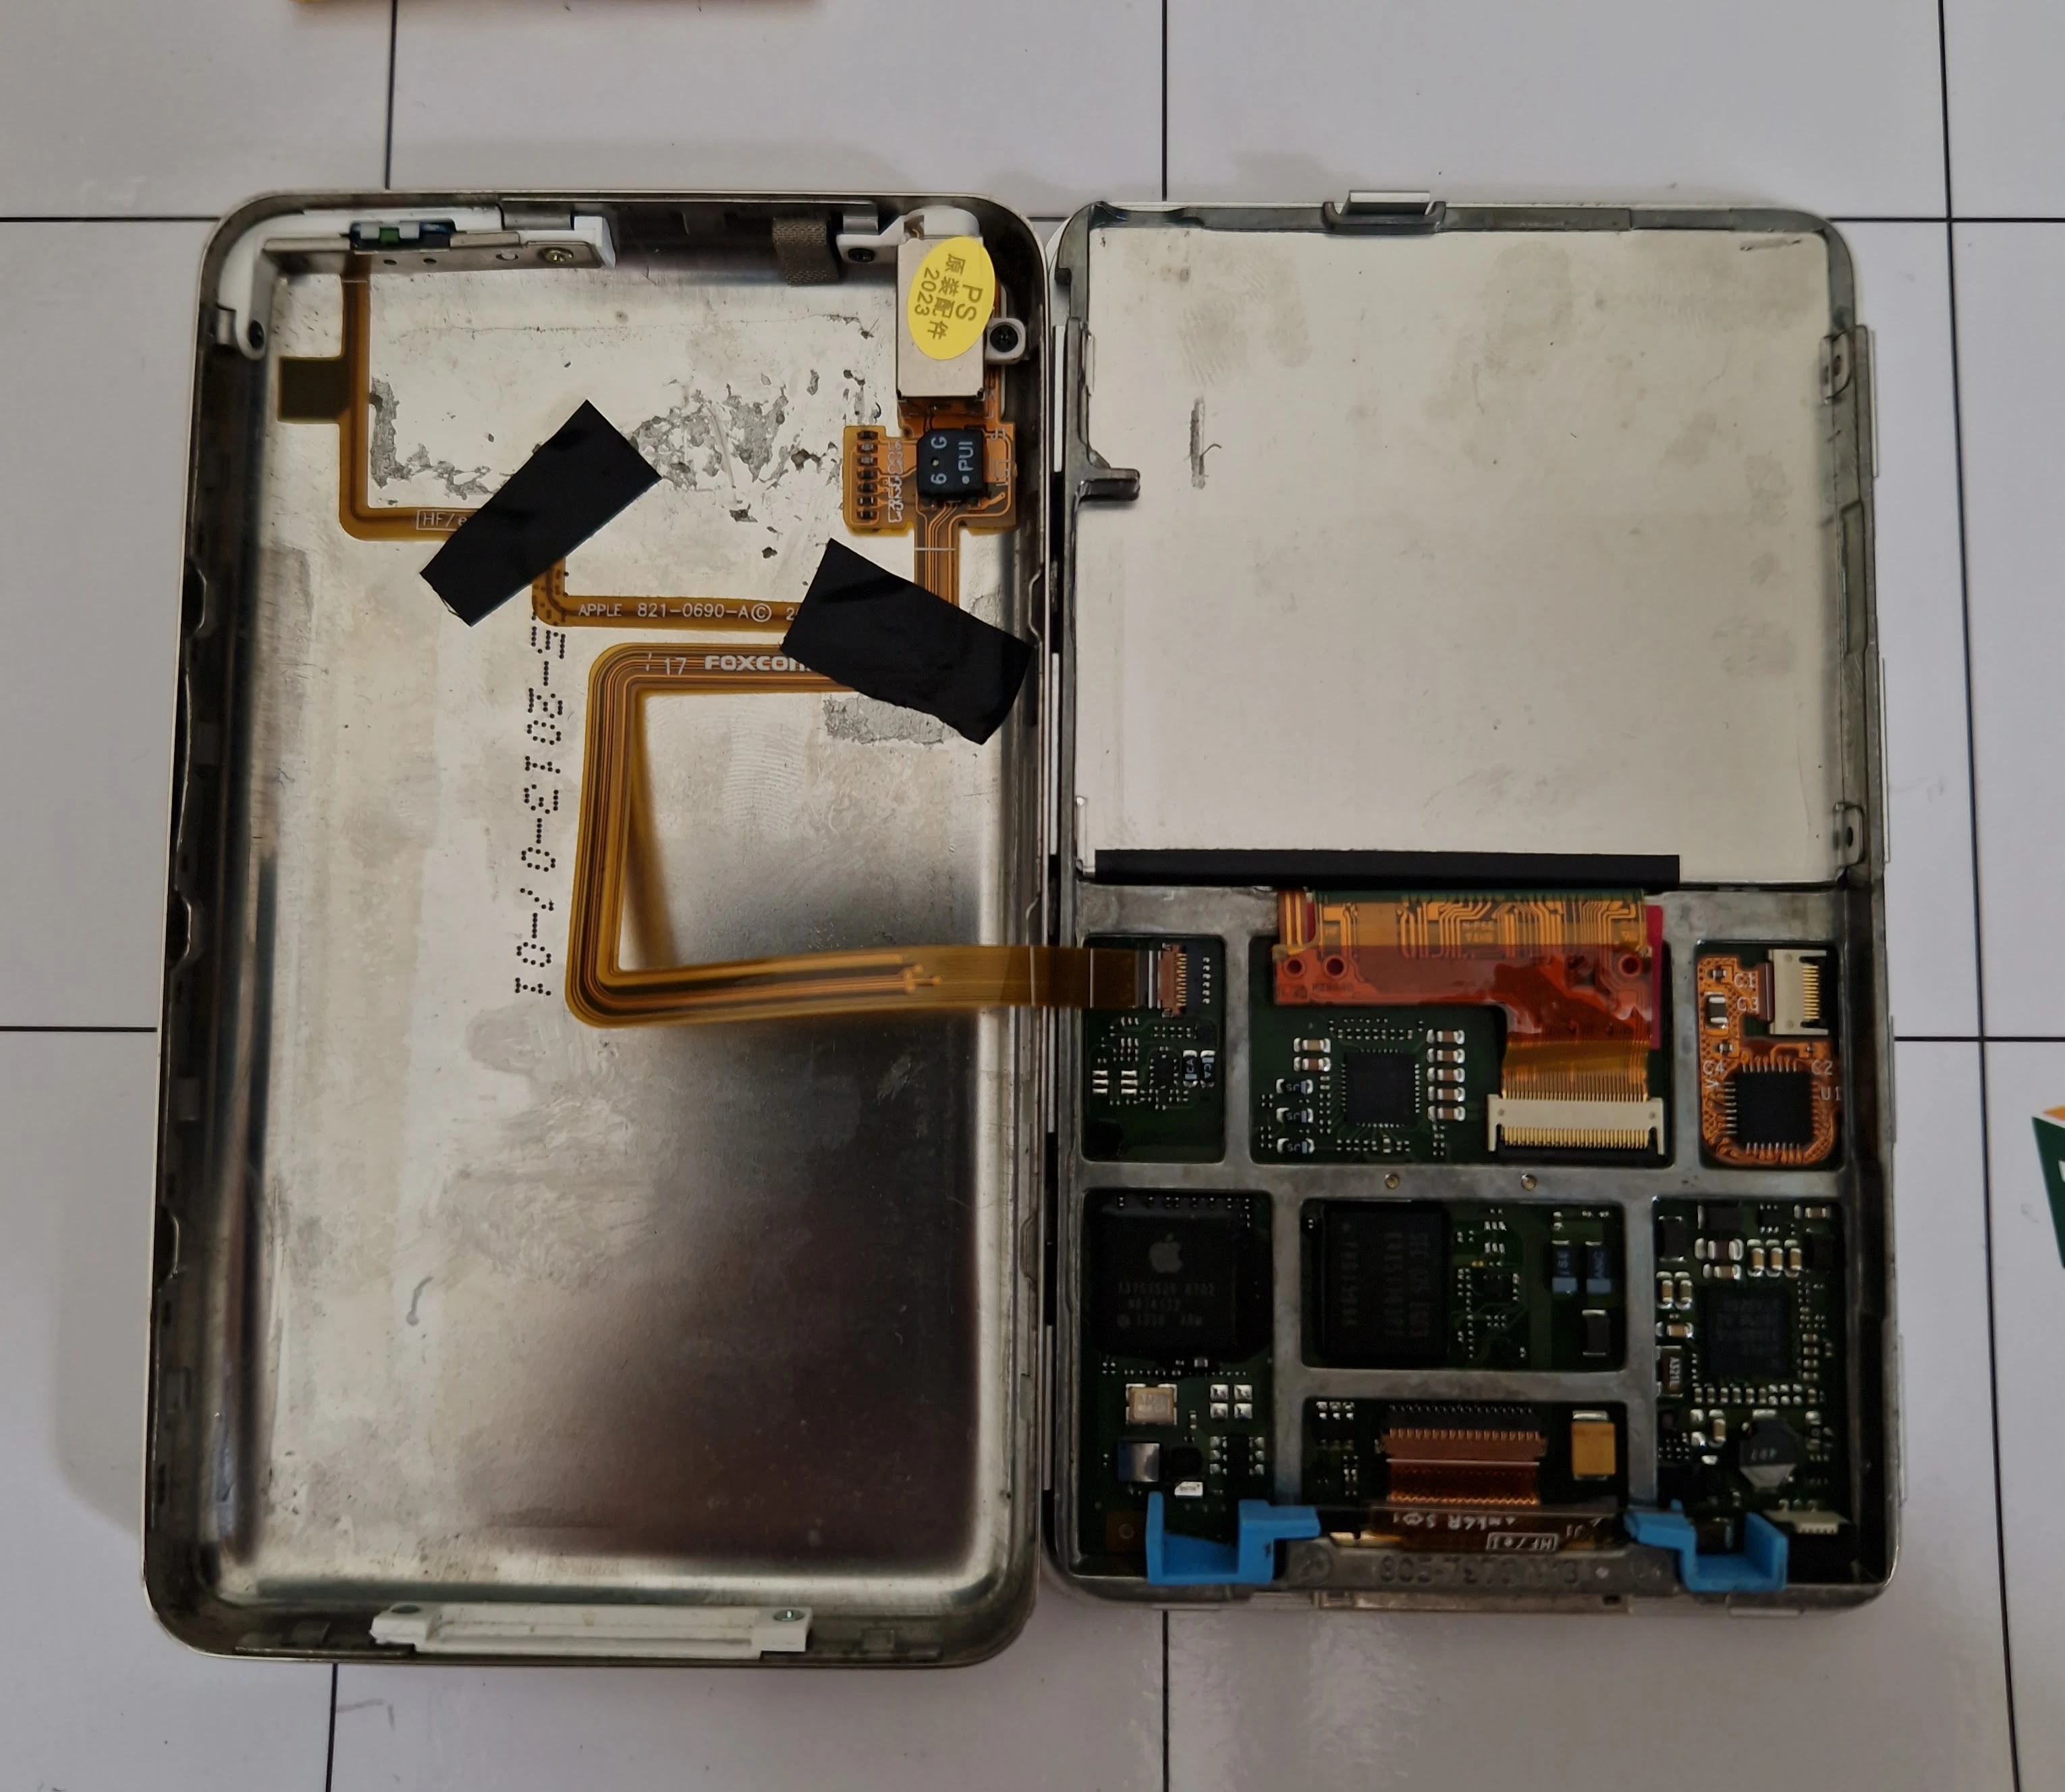
I had half expected to fall at this hurdle, ruin it completely, and have to give up before I’d begun. But I needn't have worried, really — I was careful, and I used the recommended iSesamo tool (2 of them, plus one of the mini versions the eBay seller threw in for free), and it popped open without much fanfare in less than 10 minutes. I bent the back panel a tiny bit, but I don’t think anyone other than me would notice and it went back on with a few satisfying clicks at the end of the project.
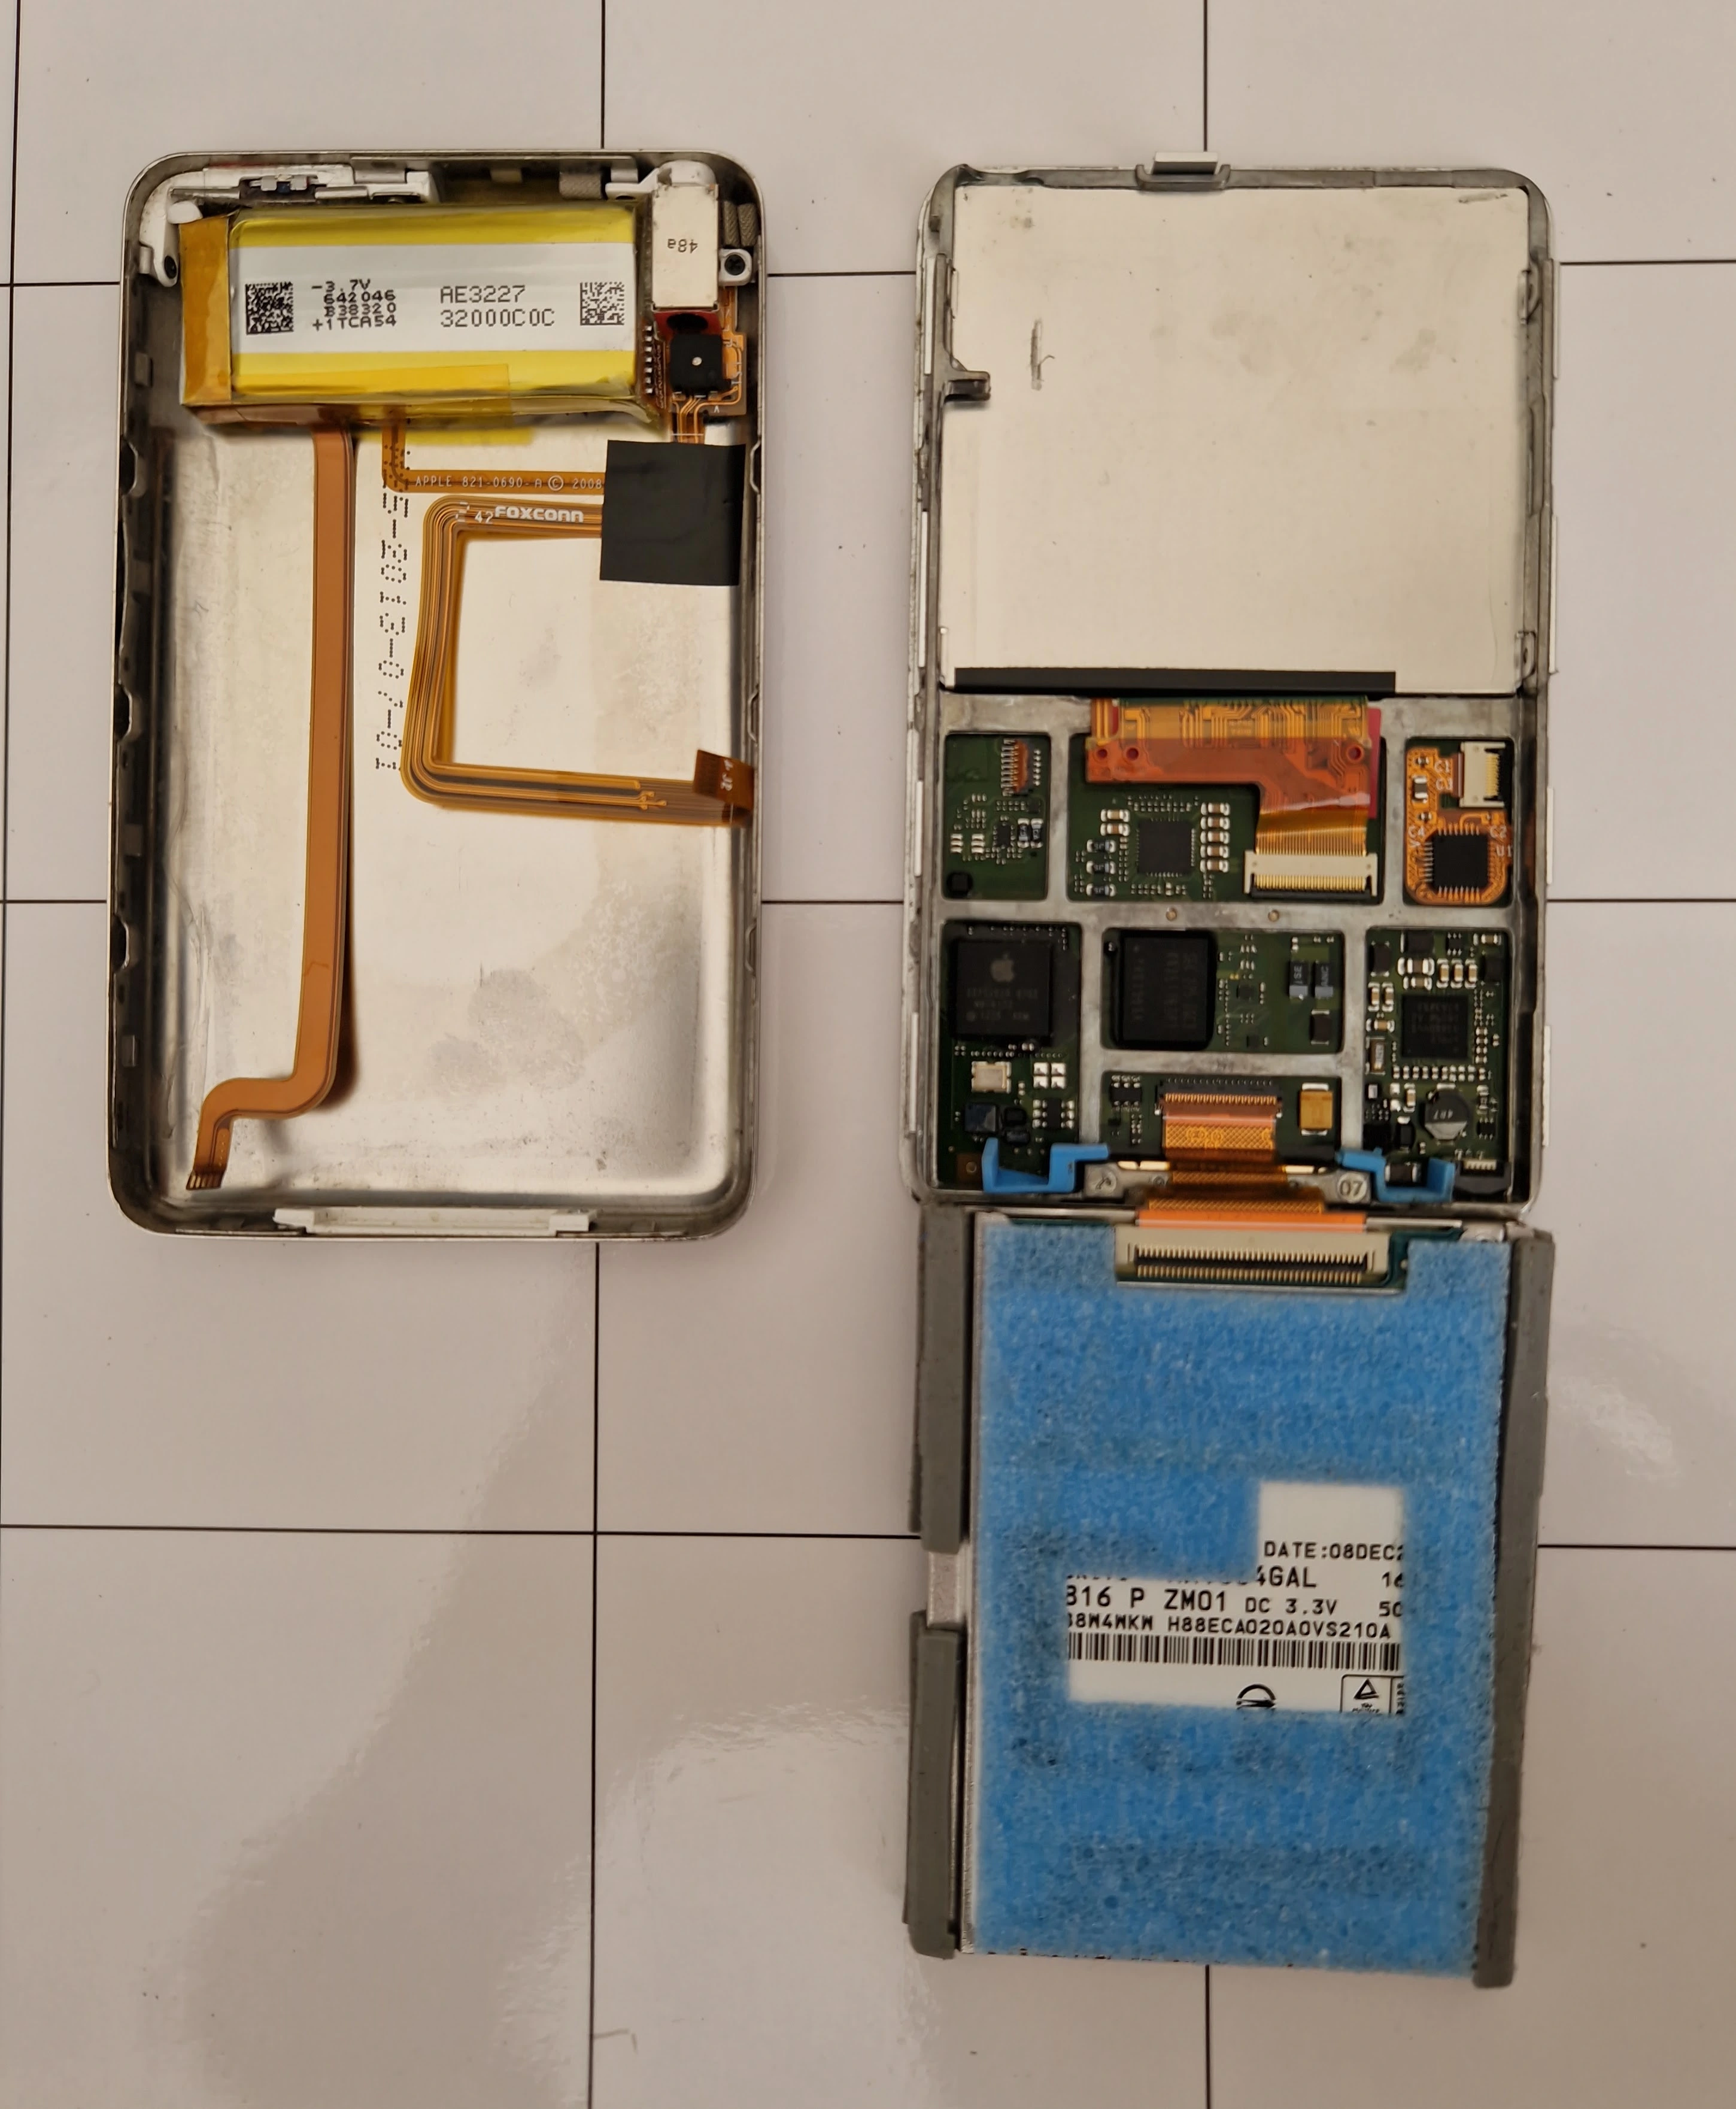
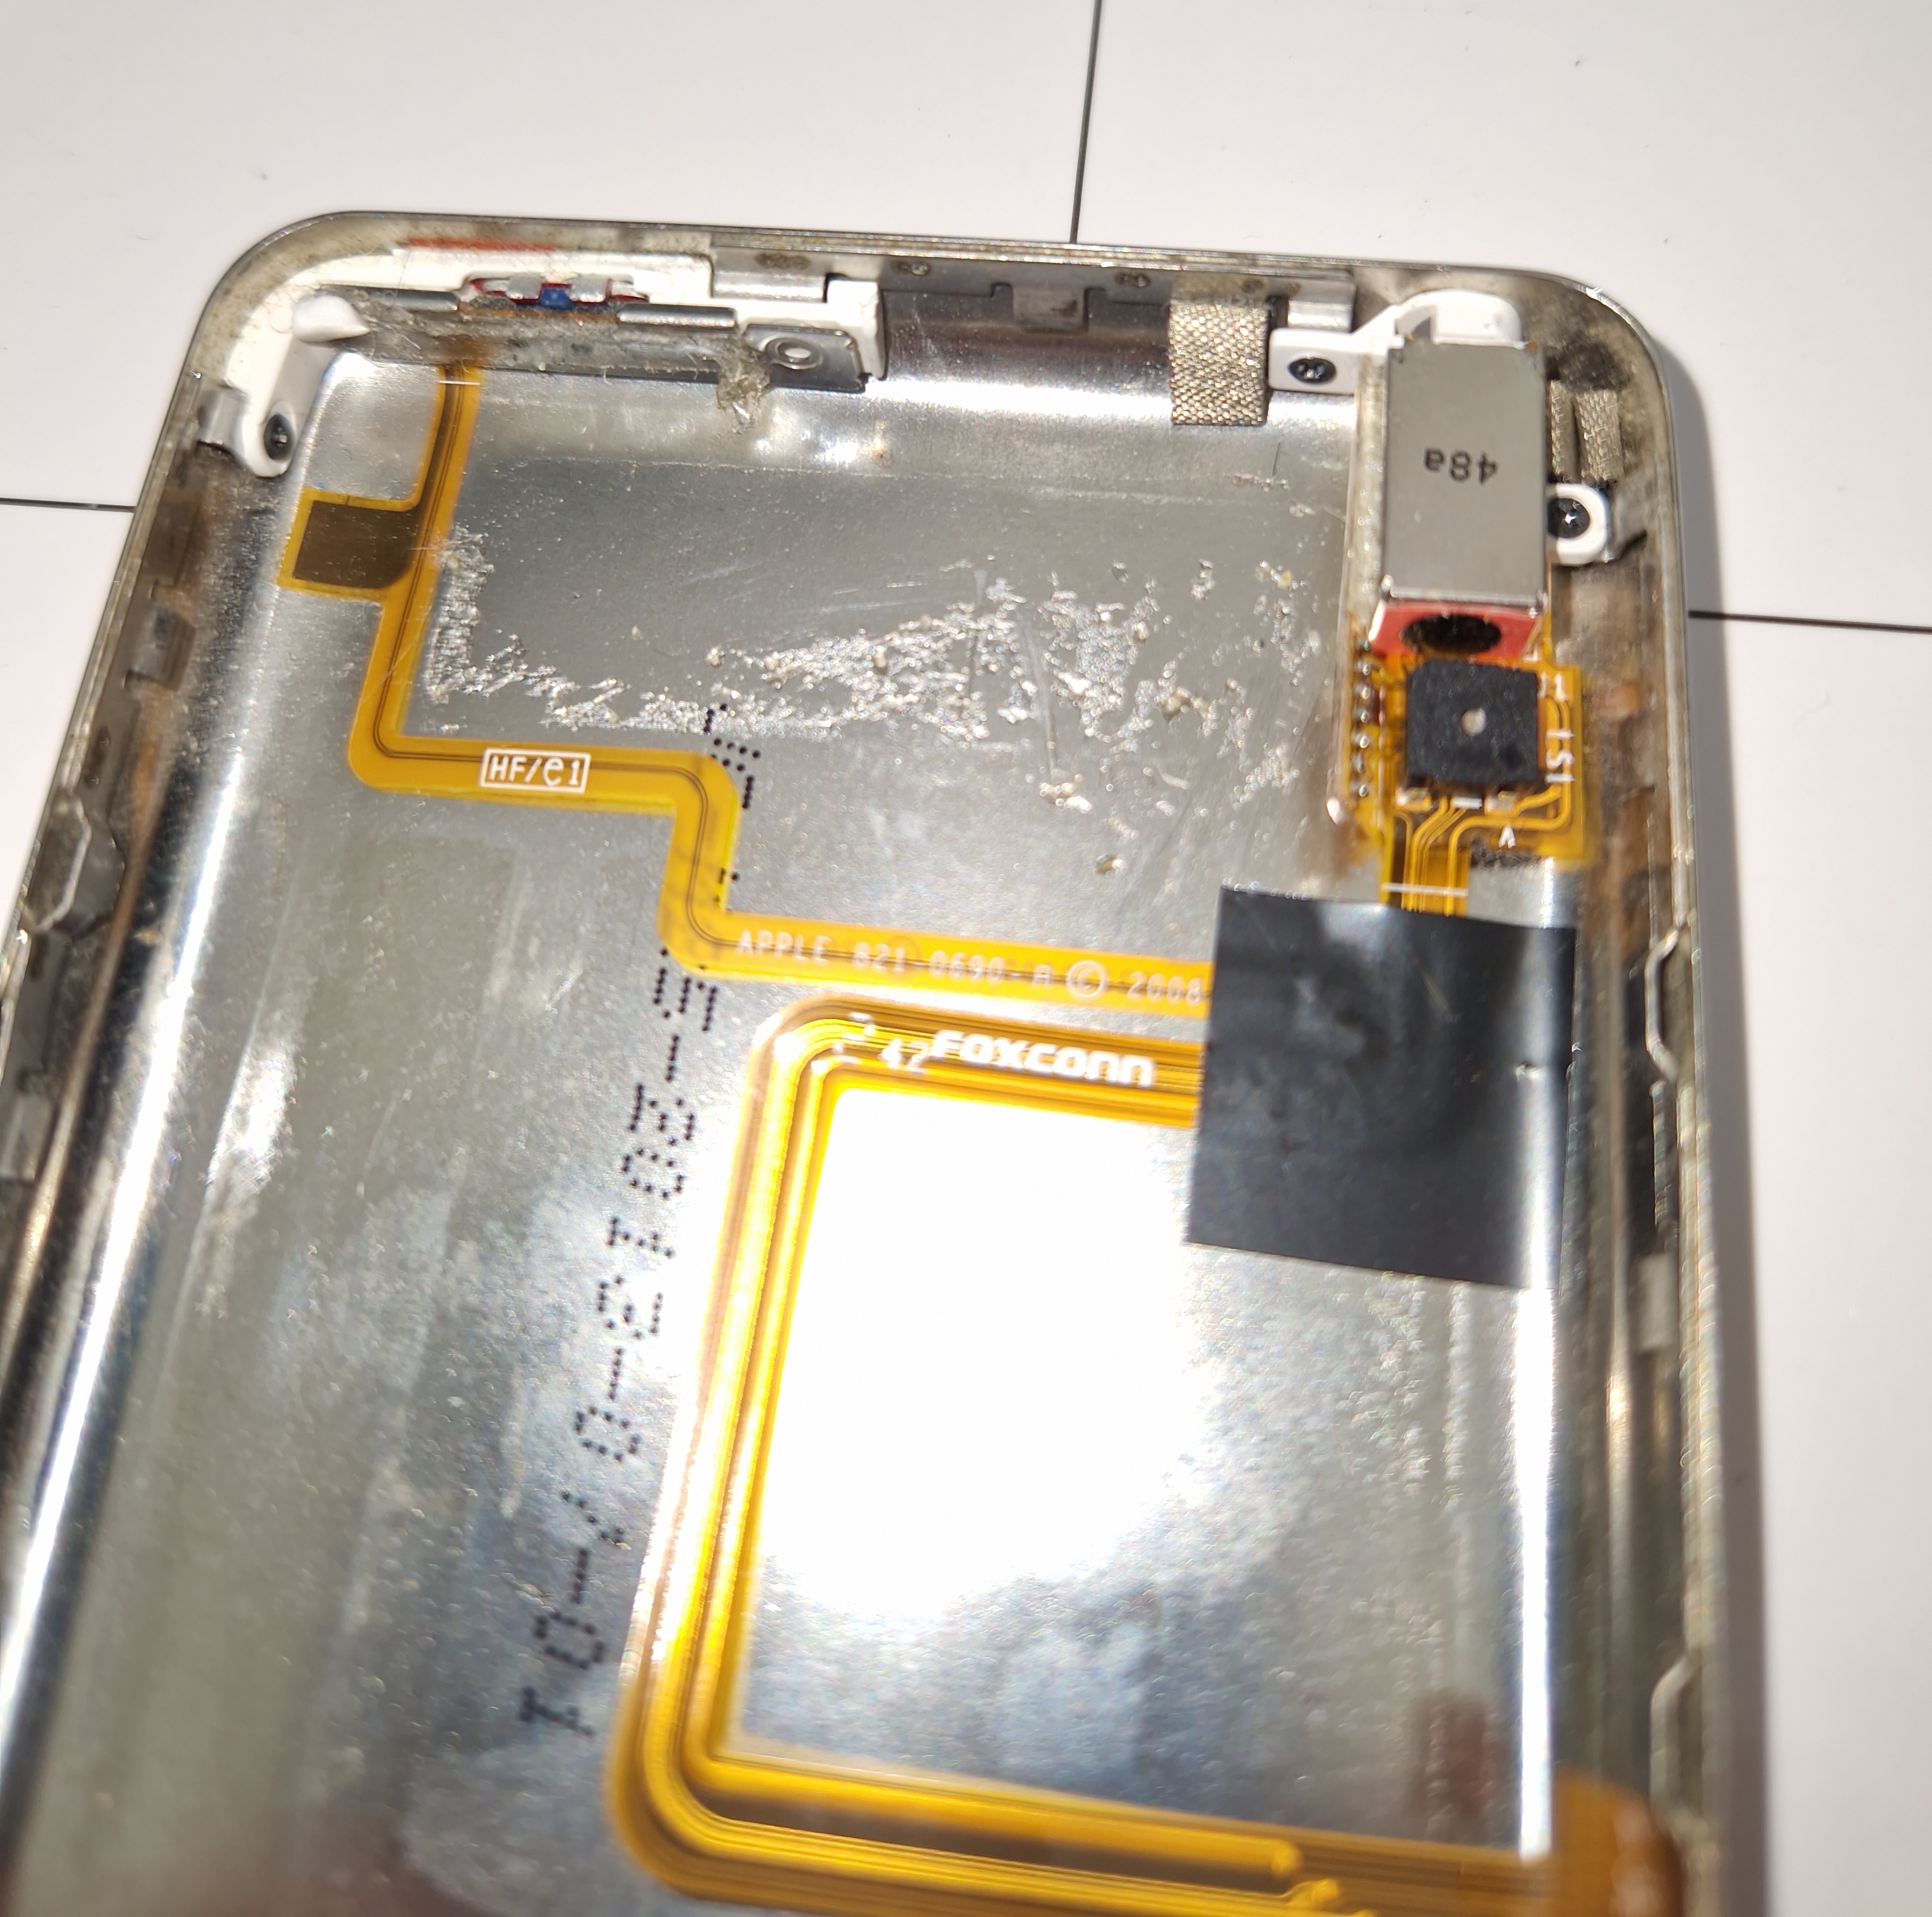
I had a poke around once it was open, and I loved finding the little imperfections inside — all electronics are assembled to some degree by hand, and mine carries evidence of this in a light scratch on the metal backing for the screen and some traces of glue on the inside of the back panel. I'm the first person to see inside this device for at least a decade, and I felt a genuine (if trite) surge of appreciation for the underpaid factory worker in Taiwan who put it together in the first place.
Front panel
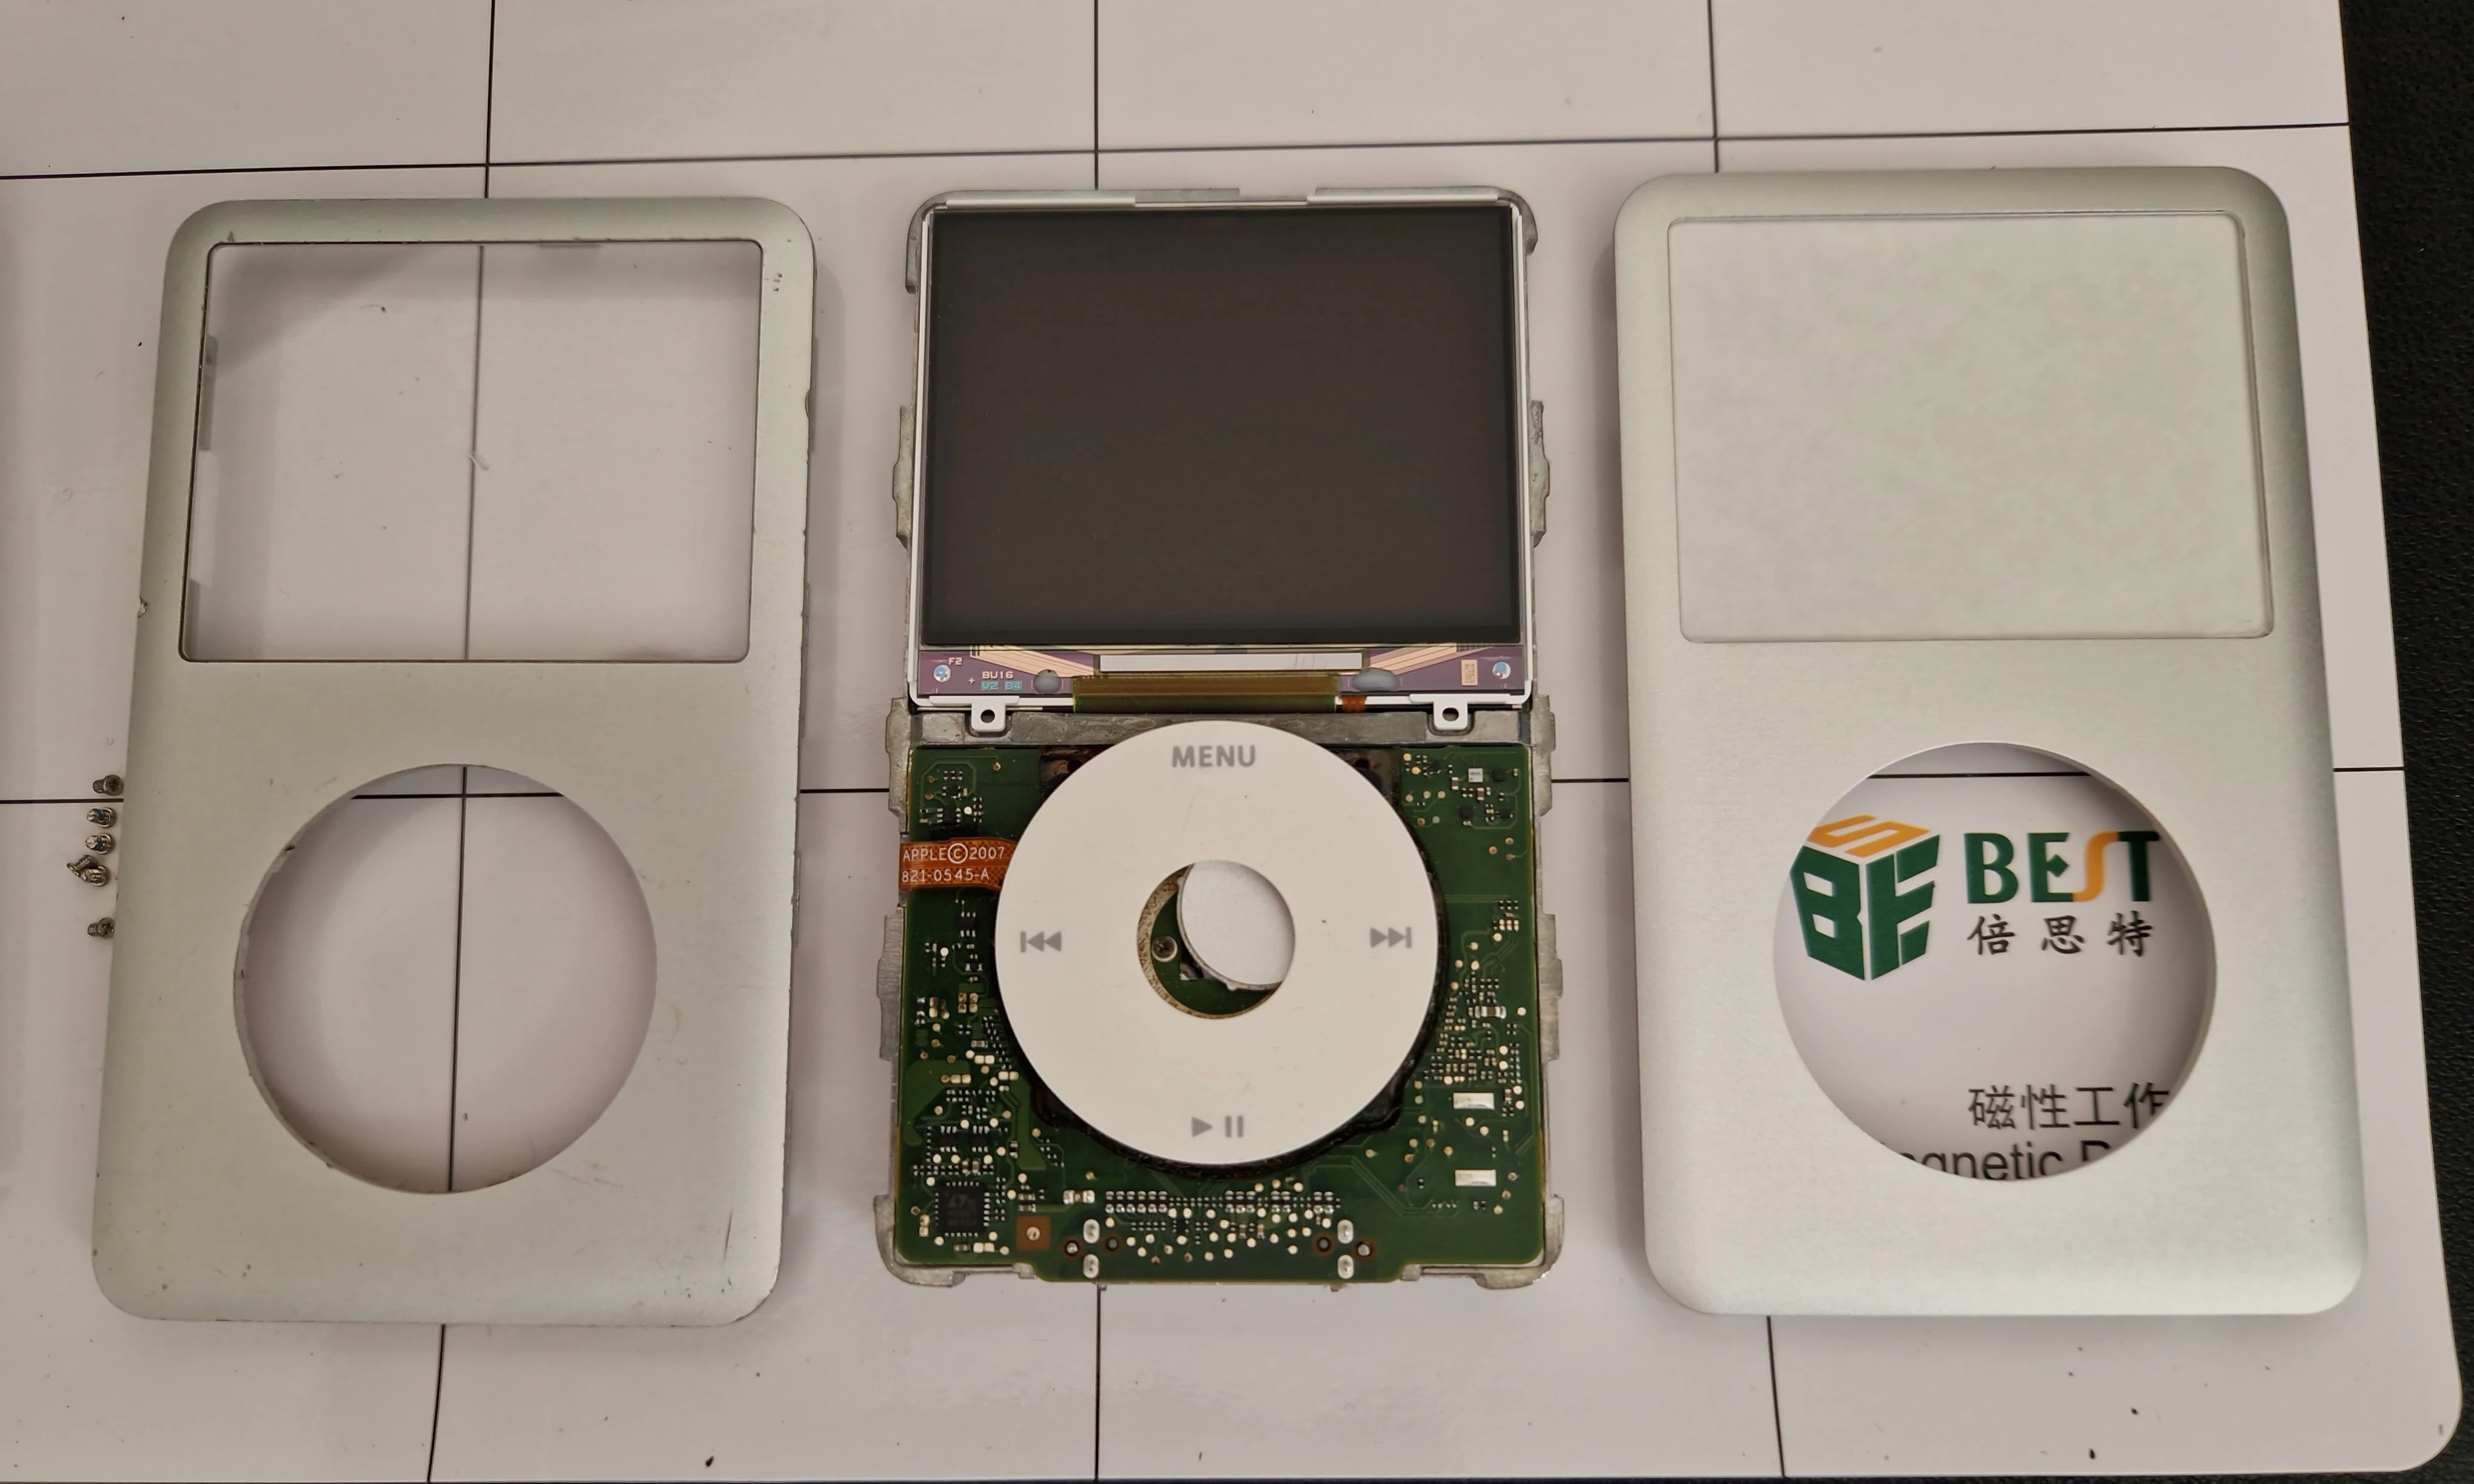
First, I had to replace the front panel — the old one was damaged, with chips in the metal and the glass cover for the screen.
I unscrewed the panel and gently pried it away from the metal frame — there was some glue holding it on, so I used one of the mini iSesamo tools at the bottom of the panel to release it. Then I held the click wheel in place with two fingers through the round hole in the new panel while I replaced it.
Battery
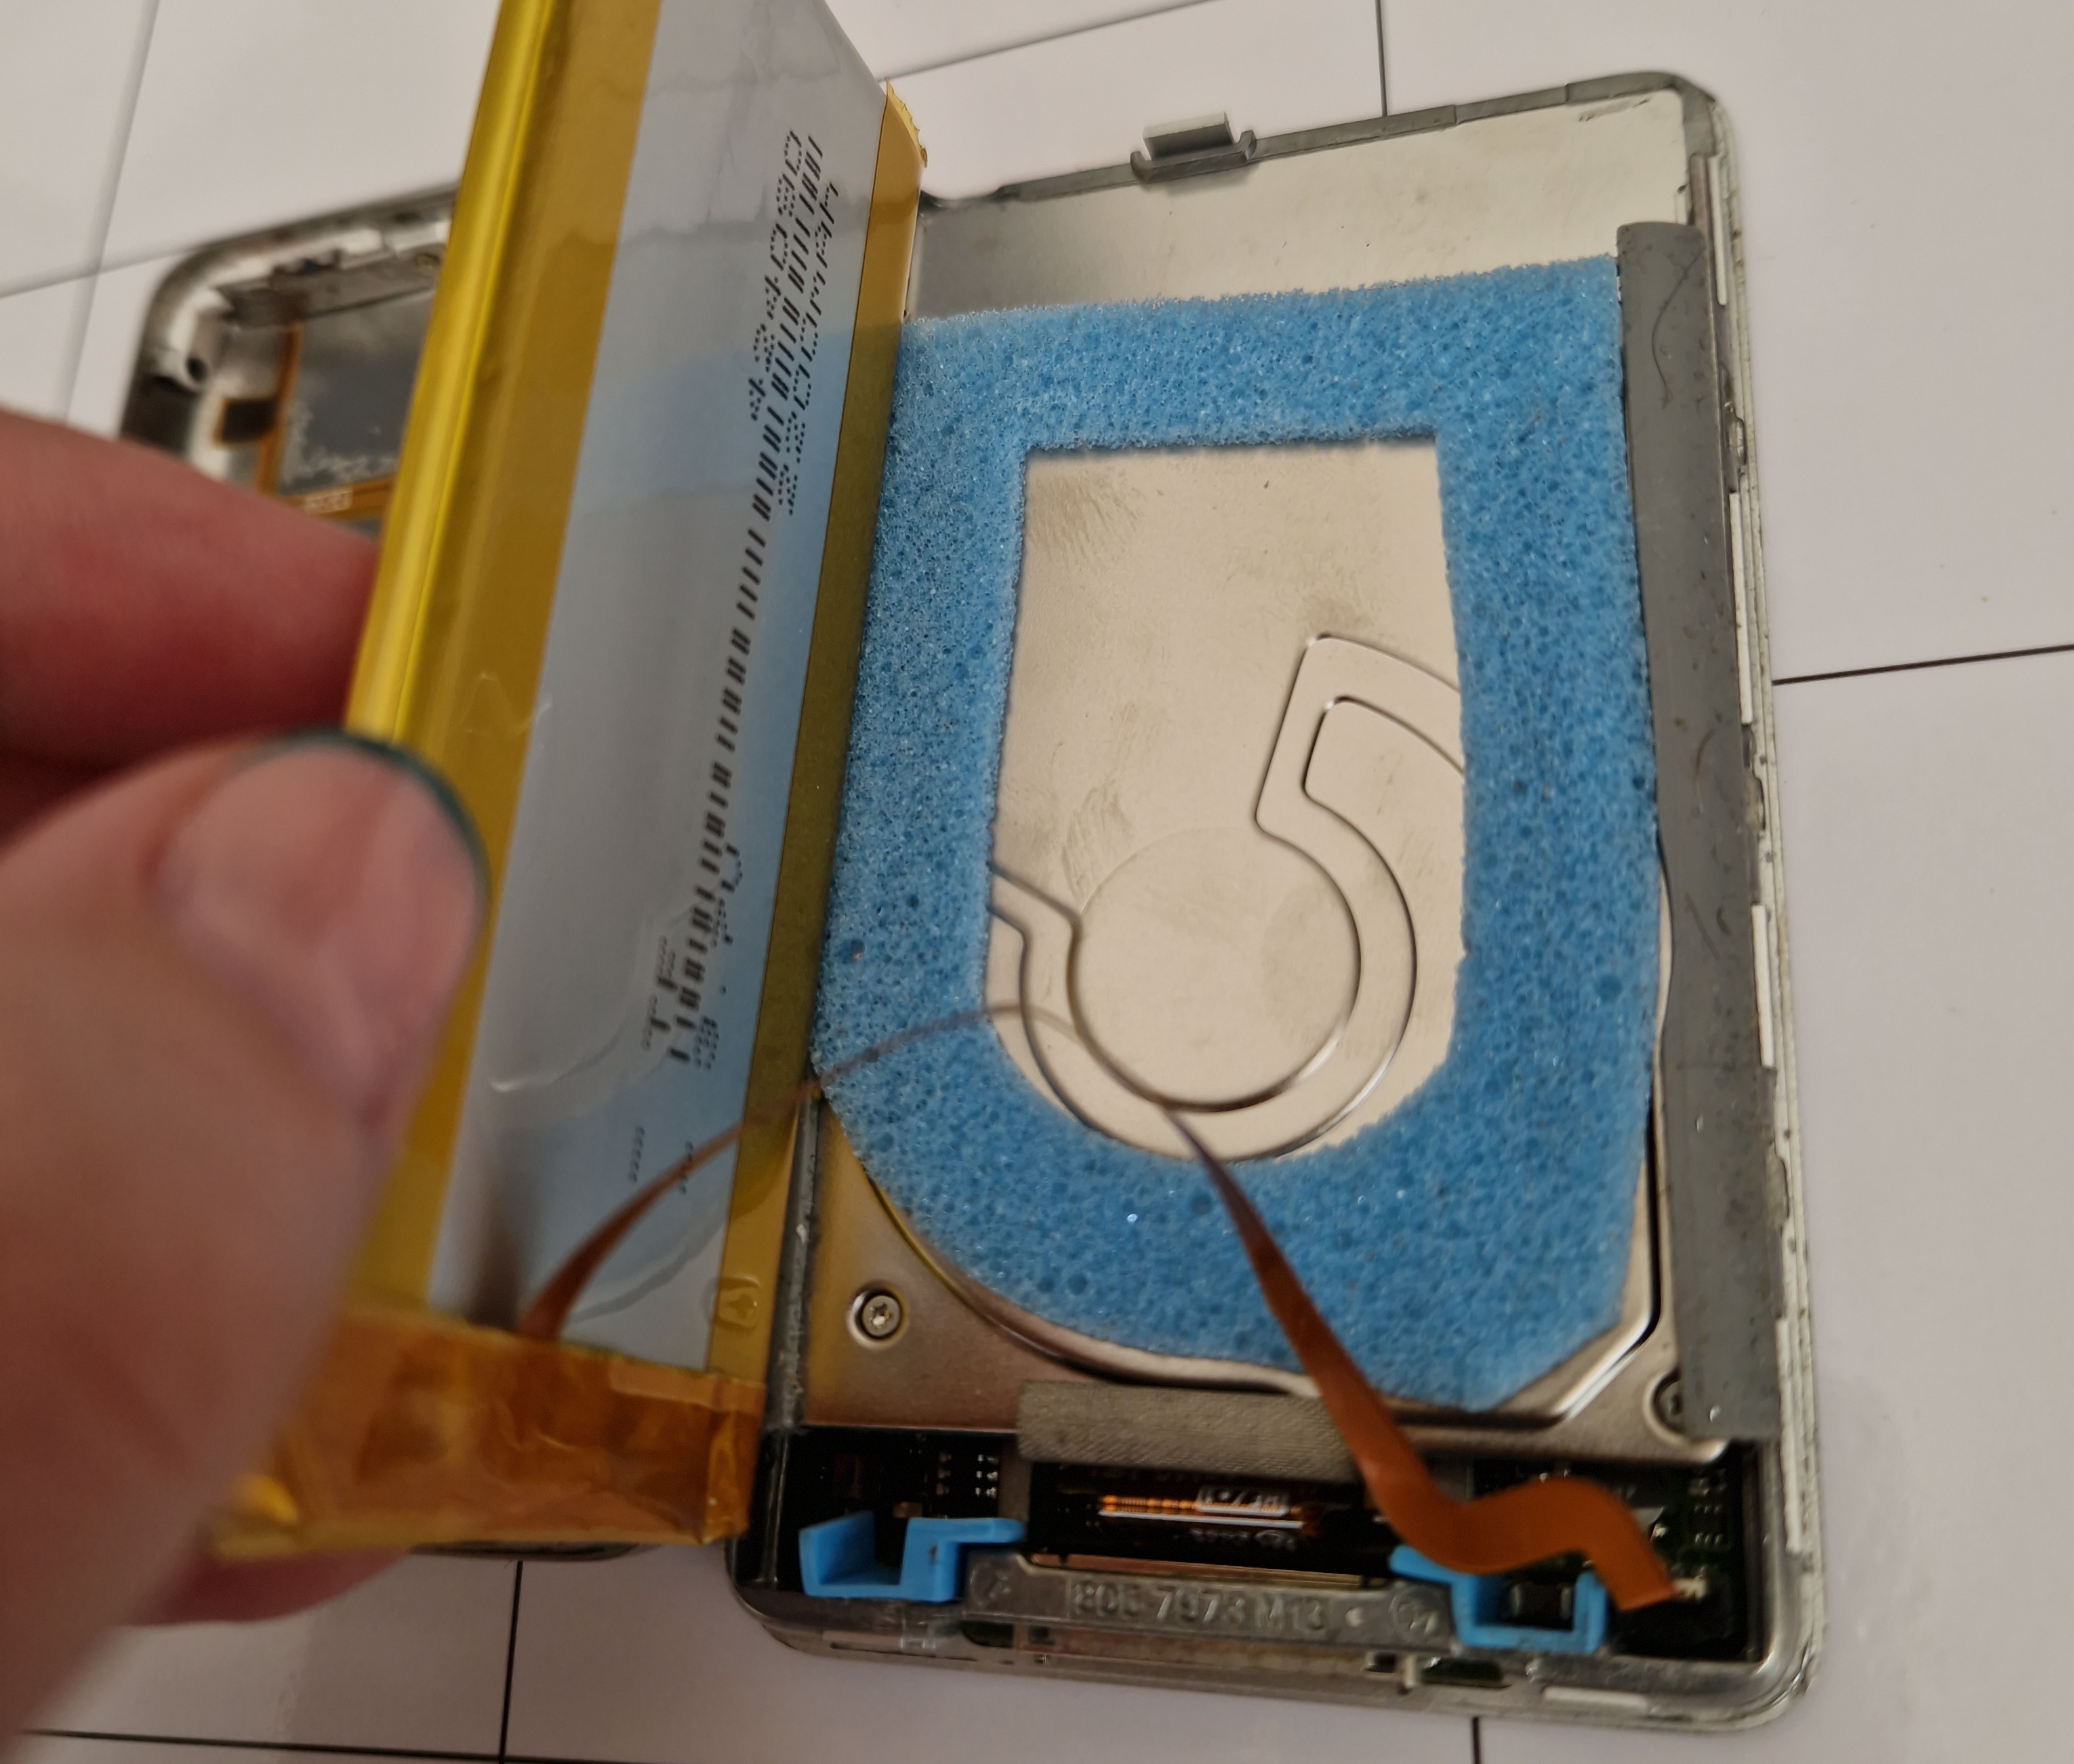
The only part of this project I found properly difficult was the removal of the old battery — I had to use a hairdryer to (gently!) loosen the glue, and then carefully pry it off with a plastic spudger. It was certainly past time for a new battery — the old one was notably swollen in comparison to its replacement.

Once the new battery was in place, I plugged it into the front panel to make sure the iPod turned on.
One irritating feature of the new battery is that the cable is too short — I've had to install it almost backwards and with a bend in the cable, which I'm hoping won't cause any problems.
Headphone jack and hold switch
More very fiddly screws at this stage — four to hold the headphone jack and hold switch in place, along with some insulation tape and a bit of glue.
Reassembly was slightly harder than removing the old one, but it all went fine. I secured the headphone cable to the back panel with a couple of new pieces of insulation tape, plugged it into the front panel, and that was that.
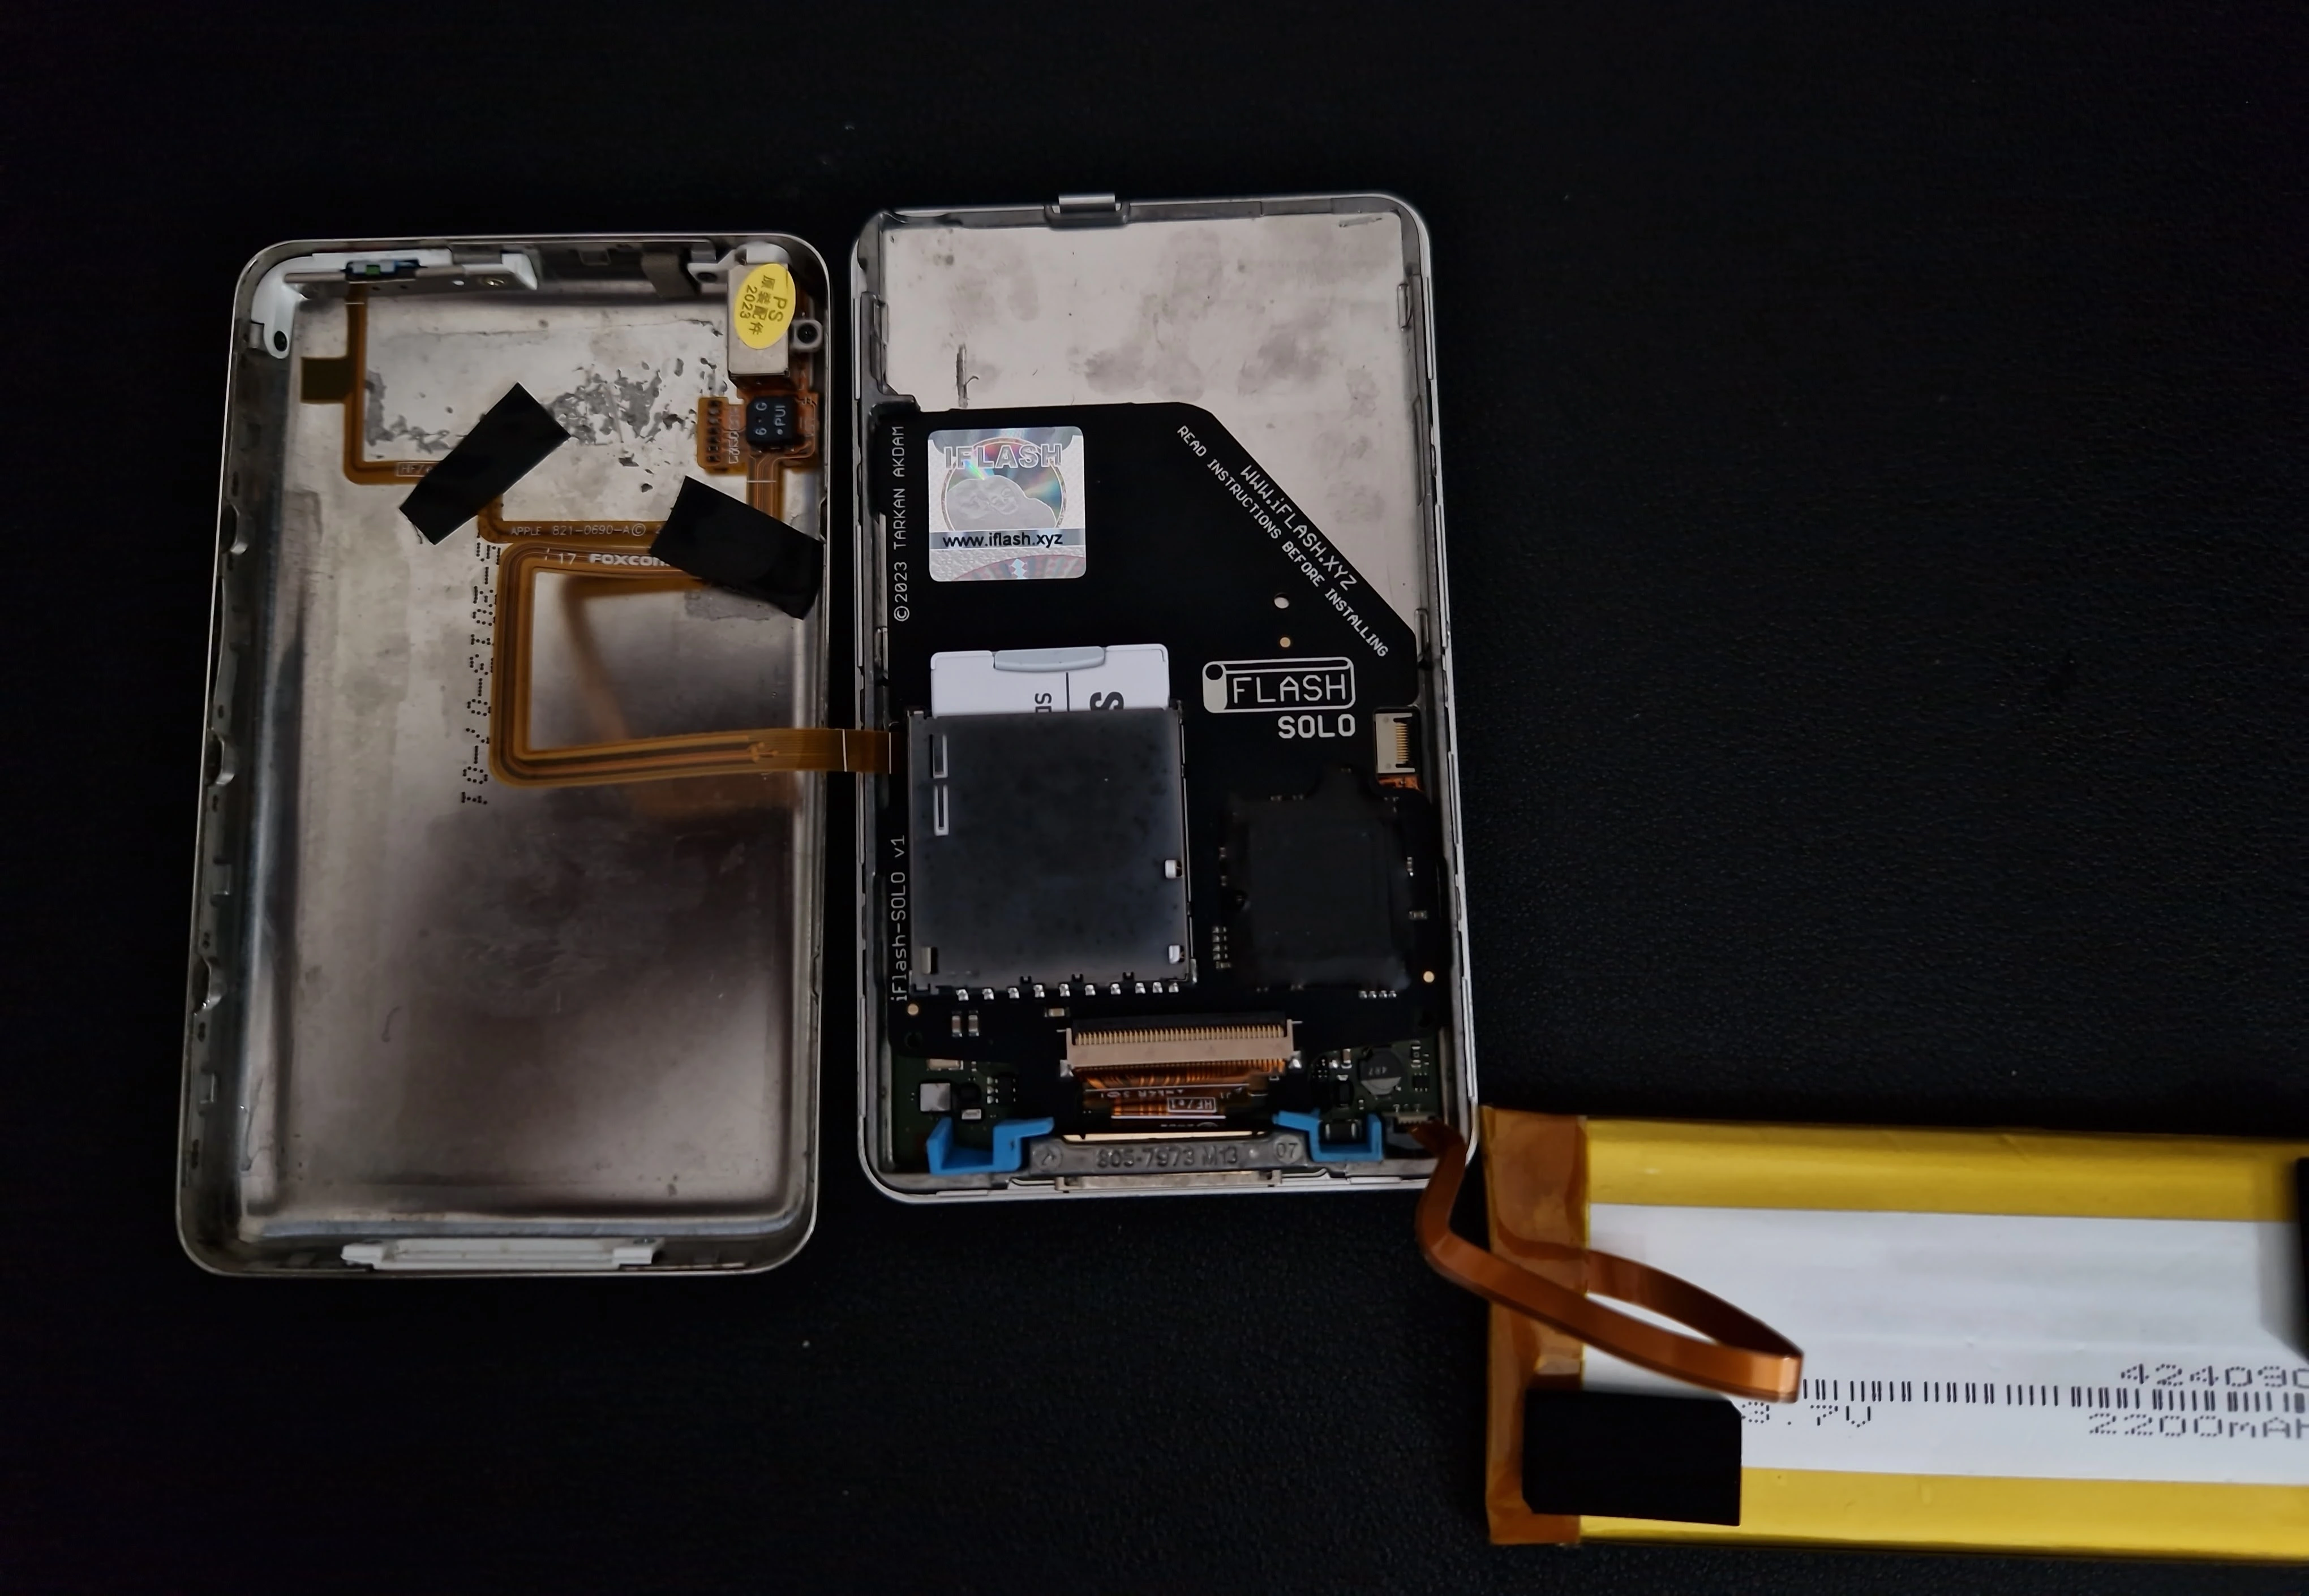
iFlash drive
Then I had to abandon the project for two weeks, because the iFlash Solo I'd ordered from Canada on the same day as the parts from the UK was — of course — taking a bit longer to arrive. I also realised during this downtime that iFlash sell the Solo on their UK website for about £6 less than I paid for the one from Canada. Oh well.
The part eventually arrived while I was on a work call, and the installation was so easy I managed to get it finished before the call ended. The SD card went into the drive, I connected the hard drive ribbon cable, connected the battery cable, and half-closed the iPod while I checked everything was working.
I had to format the SD card again when it connected to my PC, and then iTunes recognised the iPod and began restoring it.
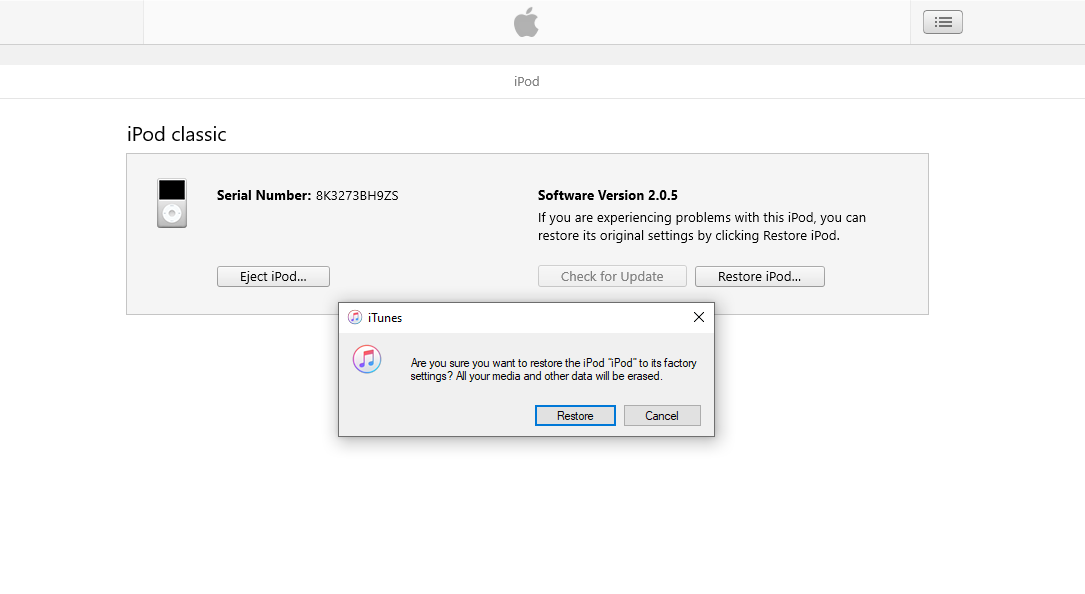
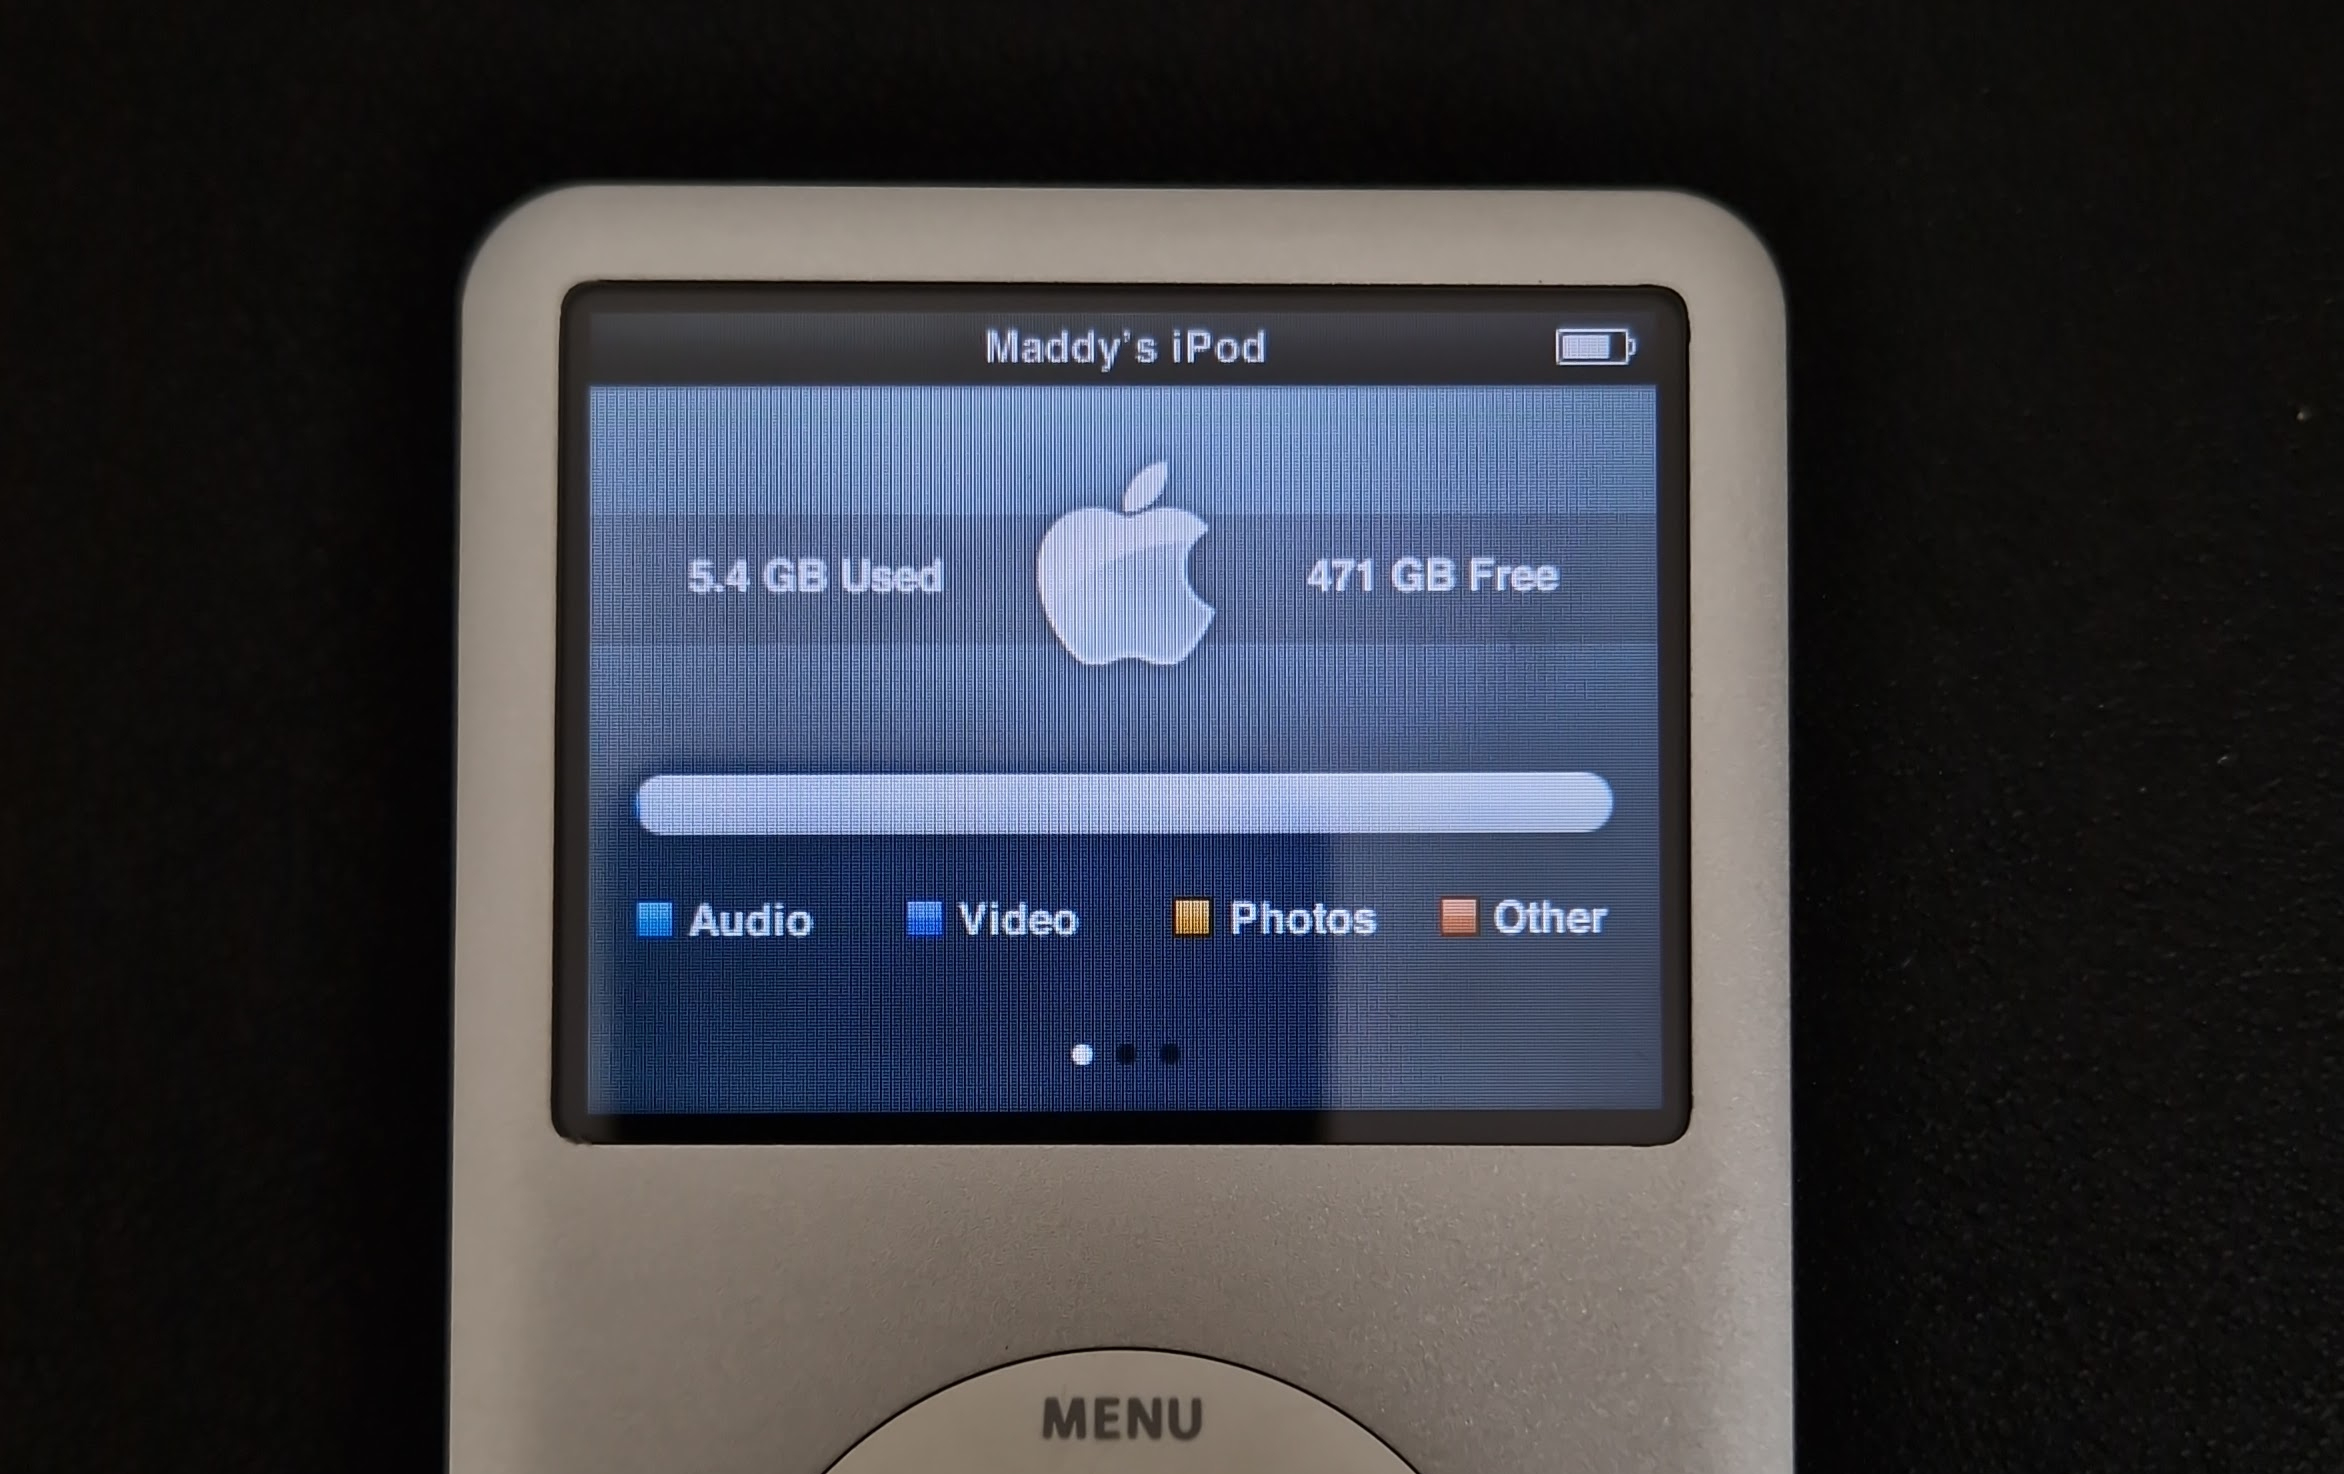
iTunes displayed it as a 512GB iPod, and the iPod itself displayed the right amount of space, so all seemed to be well.

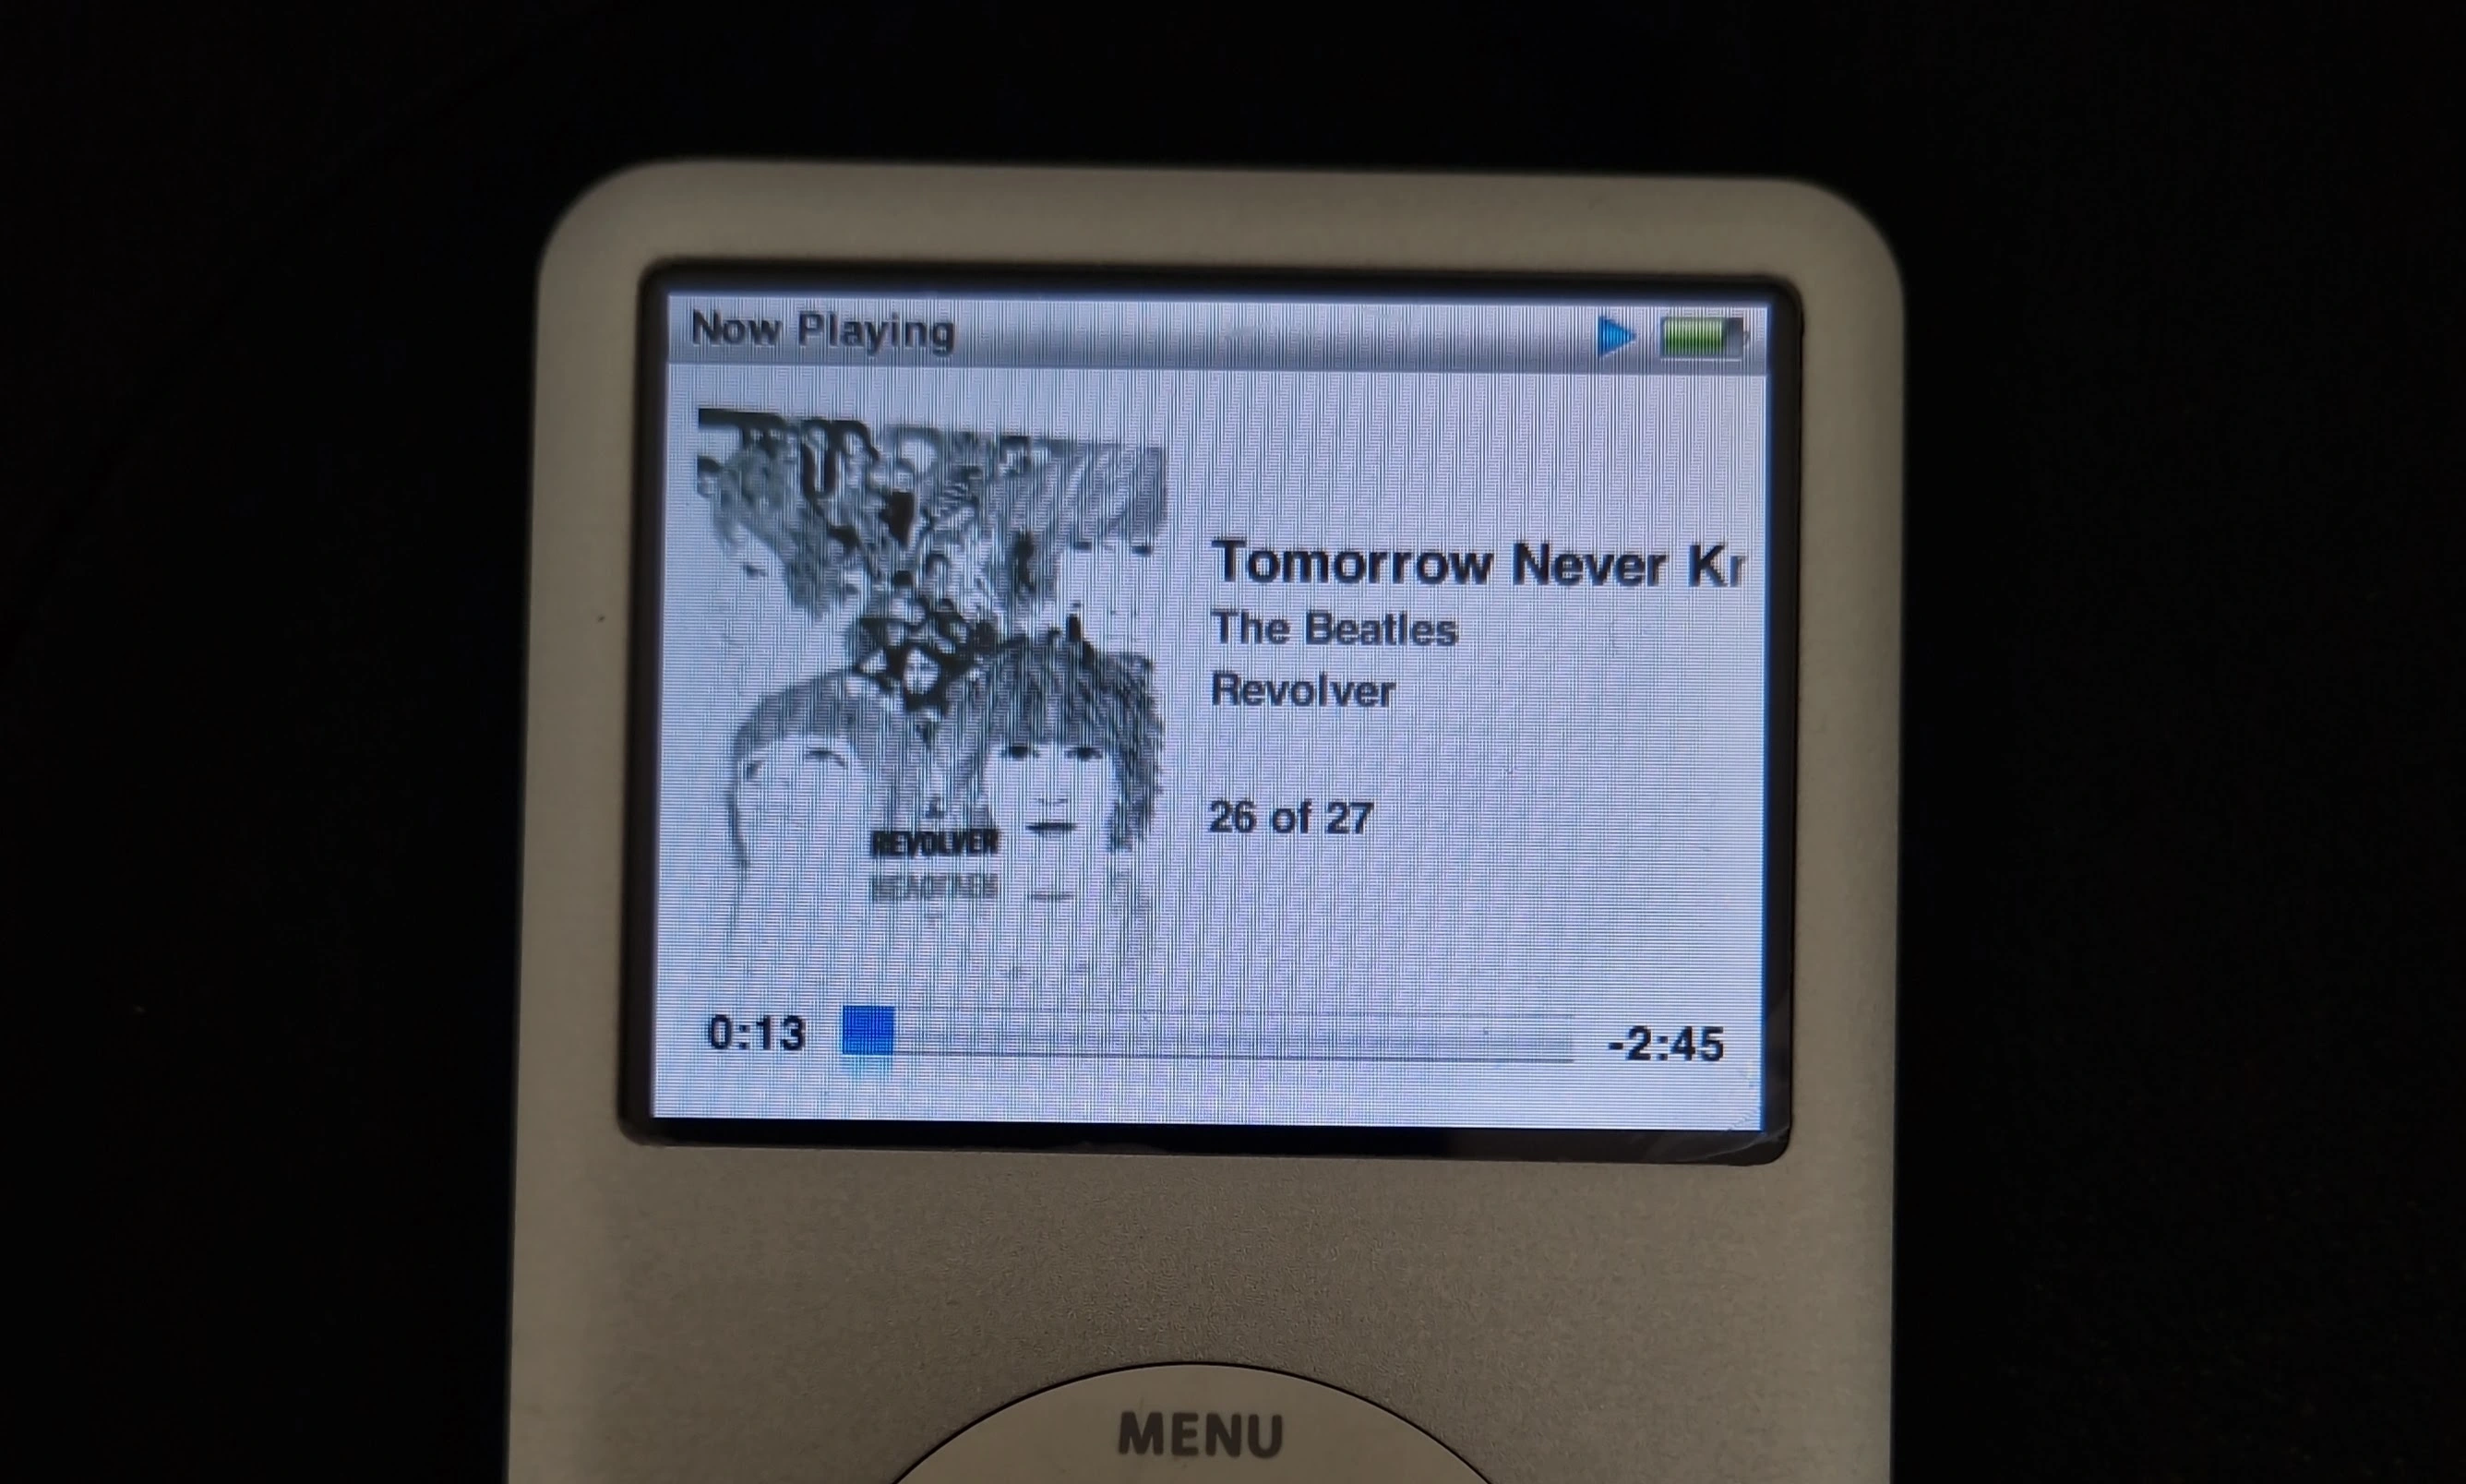
I tested the audio with — what else — Tomorrow Never Knows by The Beatles.
Since it all sounded good, I disconnected from my PC, attached some foam pads to the battery to prevent any rattling, and closed the iPod. Then I just had to get everything synced and it was good to go — with heaps of storage space to spare.
Step by step
I worked this out and made these notes for myself using the iFixit guides for each part I wanted to replace, making sure I didn't have to do anything twice.
- separate front & back panel
- disconnect battery & headphone jack cables
- disconnect hard drive cable
- unscrew front panel, separate from metal framework
- install new front panel — make sure click wheel is in correct position first
- screw in front panel
- lift battery from back panel with spudger (+ hairdryer)
- peel off tape holding ribbon cables to back panel
- remove headphone jack and hold switch screws
- remove headphone jack and hold switch
- screw in new jack & switch
- add small piece insulation tape to keep wires in place
- attach headphone ribbon to front panel
- format SD card
- add SD card to iFlash drive
- connect iFlash drive
- connect new battery to front panel
- plug iPod in & make sure everything is working, not rattling, etc
- close back panel
Final result
I’m really happy with the result — it sounds great, it has more than enough space for every piece of music I could want to add, and I can play Klondike again.
I recently bought a Nintendo DS, and with the iPod spinning Avril and my Nintendogs barking in the background it could almost be 2006 again. Feels like peace.
I wish I knew what happened to this one — it's possible I bricked it somehow when it was still in warranty and sent it back in exchange for the one I have now, but I don’t remember either way. I can’t find it anywhere and it's rare for me to get rid of old tech (as you can tell), so there must be some reason it’s gone and I have this one instead. ↩︎
For this reason, the capacity will always read ‘160GB’, but I like that it still looks on the outside like the same device as always. ↩︎
Tagged:
Next article: 2023 in media (1/3) — reading
Previous article: April 2023 in media